How to Put Holster on Belt?
To put a holster on your belt, start by choosing a sturdy belt designed to support your firearm’s weight, like a gun belt. Position the holster where it feels most comfortable, often at the appendix, 3 o’clock, or kidney position.
Securely attach the holster’s clips or loops onto your belt, ensuring it’s firmly in place and easy to access. Adjust the holster for comfort and retention, so your firearm stays secure yet ready. Keep exploring for tips on perfect placement and maintenance.
Types of Holsters Suitable for Belt Carry
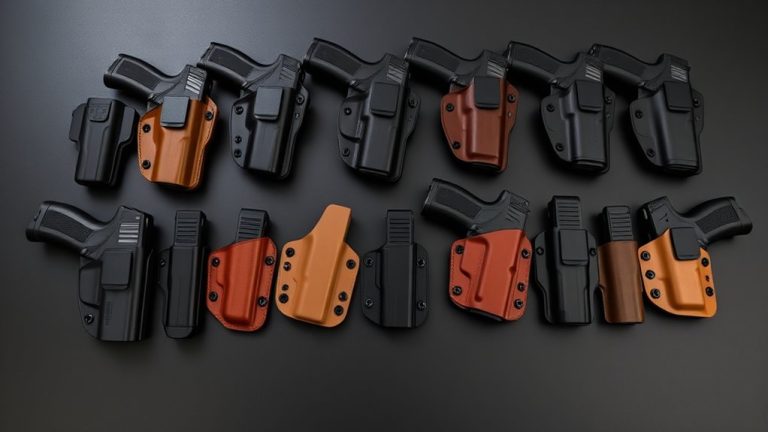
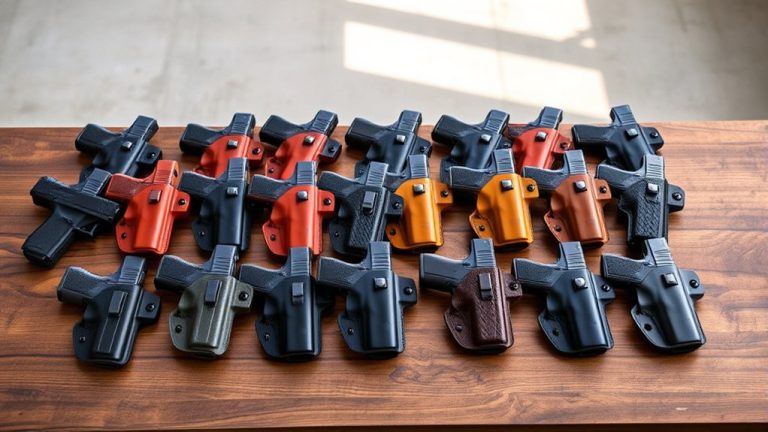
When choosing a holster for belt carry, you’ll find several types designed to fit different needs and preferences.
Belt holsters slide onto your belt using specific loops and sit behind the iliac crest, offering easy access and smooth draws. Clip-on holsters use a wide, curved plastic piece that hooks inside your belt, making removal quick and simple.
Belt holsters secure behind the iliac crest for quick draws, while clip-ons hook inside for easy removal.
Side holsters provide versatility, allowing you to wear them on your strong side, back, or even while seated.
Specialized options like shoulder and thigh holsters come with adjustable straps and secure fittings to keep your firearm accessible during active use.
The material also matters—leather offers comfort and durability, while molded plastic guarantees rigidity and functionality, so pick what suits your lifestyle best.
Preparing Your Belt for Holster Attachment
Before attaching your holster, make certain your belt is sturdy enough to support the firearm’s weight, preferably made from leather or nylon.
A durable belt prevents sagging and keeps the holster securely in place.
Loosen your belt to create enough room for the holster to slide comfortably under your waistband without pinching your skin.
This step guarantees comfort and ease of movement.
Adjust the holster’s clips or loops so they grip the belt firmly, minimizing any unwanted shifting during wear.
Once attached, check the holster’s stability and confirm you can draw your firearm smoothly.
Only then should you fully tighten your belt.
Proper preparation assures both comfort and safety when carrying your firearm on your belt.
Positioning Your Holster on the Belt
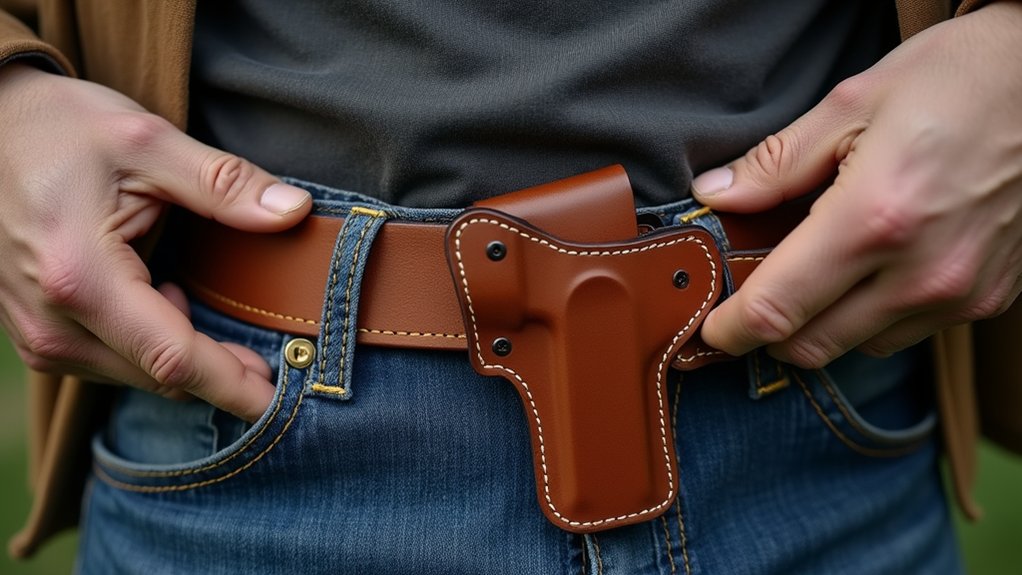
When you’re positioning your holster on the belt, think about where you can draw smoothly and comfortably.
You want to find the spot that works best for your body and your daily activities. It might be at the 12 o’clock position if you’re carrying a longer gun, or maybe appendix carry for quicker access.
Don’t be afraid to move it around a bit until it feels just right for you.
Optimal Holster Placement
Although holster placement depends on your body type and personal preference, finding the ideal position on your gun belt is essential for quick access and effective concealment.
You’ll want to reflect on where you can comfortably reach your firearm while keeping it discreet.
Here are three common placements to investigate:
- Appendix Carry Positioned between your navel and hipbone, this spot offers a fast draw, perfect if speed is your priority.
- 3 O’clock Position Located directly on your strong-side hip, it’s traditional but might be less concealed.
- Kidney Carry Set behind the hip, this position is comfortable when sitting and keeps your firearm discreet.
Try each to see which fits your lifestyle and body best before settling in.
Adjusting Holster Position
Since your holster’s position directly affects your comfort and draw speed, you’ll want to fine-tune its placement on your belt carefully.
Try different spots. 12 o’clock works well for longer guns, appendix carry offers quick access, and 3 o’clock suits a strong-side draw.
Adjust the cant, or angle, to match your draw style. Forward cant tilts the grip forward, while reverse cant leans it back for comfort.
Set the ride height so the grip sits just right—neither too high nor too low.
Use a thick, quality gun belt to keep your holster stable and prevent sagging.
Finally, regularly check the retention to guarantee your firearm stays secure but remains easy to draw when needed.
This fine-tuning boosts both comfort and readiness.
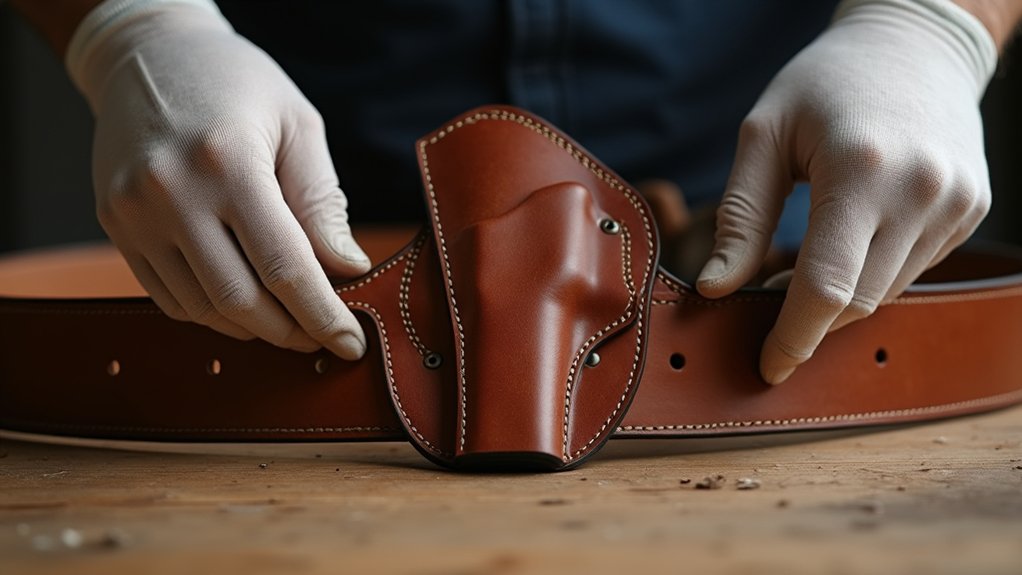
Securing the Holster to the Belt
To secure your holster properly, start by choosing a sturdy belt that’s designed to handle the weight and keep your setup stable.
You want something reliable that won’t sag or twist as you move. Next, attach the holster clips firmly to the belt.
Make sure they grip tightly—no slipping allowed. Finally, position the holster in a spot where it stays secure but also feels comfortable as you go about your day.
That way, it won’t shift around or slow you down.
Choosing Belt Type
Choosing the right belt plays an essential role in securing your holster effectively. Regular belts don’t provide enough support, causing sagging and discomfort. Instead, opt for a gun belt built to handle the weight and keep your firearm stable.
Here’s what to look for when picking your belt:
- Material Quality: Choose high-quality leather or nylon for durability and strength.
- Width and Rigidity: Select a belt at least 1.5 inches wide with enough stiffness to hold your holster tight against your body.
- Adjustability: Look for belts with multiple holes to guarantee a secure, comfortable fit throughout the day.
This guarantees your holster stays firmly in place, enhancing both concealment and comfort.
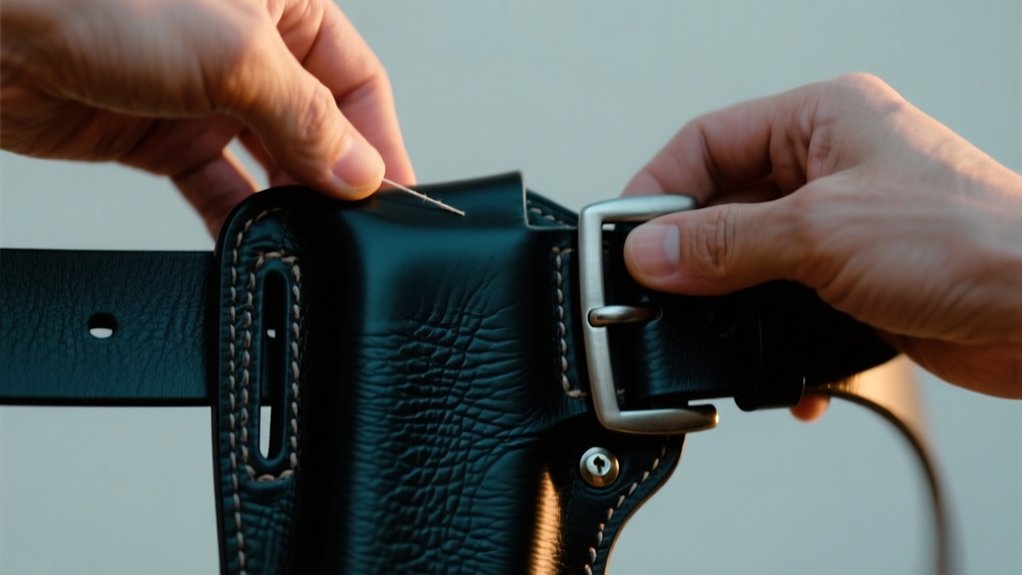
Attaching Holster Clips
When you’re ready to attach your holster clips, start by loosening your belt and positioning the holster where it feels most comfortable and accessible.
Slide each clip over the belt, making sure they sit flush against it to prevent any unwanted movement.
If your clips have adjustable retention, tighten or loosen them until the holster fits snugly without being overly tight.
Once attached, give the holster a gentle tug to check its stability. It should stay firmly in place without shifting or loosening.
Don’t forget to inspect the clips regularly for signs of wear or damage, and replace them if needed.
Properly secured clips will keep your holster reliably attached throughout daily use.
Positioning for Stability
Although it might seem simple, positioning your holster properly on your belt plays an essential role in keeping it stable throughout the day. A secure holster prevents shifting and guarantees quick access when you need it.
Here’s how to position your holster for maximum stability:
- Loosen your belt before sliding the holster under your waistband. This makes positioning easier and more secure.
- Choose your preferred carry spot, like the appendix or 3 o’clock position, to maintain comfort and prevent movement during activity.
- Tighten the holster clips firmly against your belt to anchor it in place and minimize shifting.
Regularly check the fit and make adjustments to keep your holster stable, comfortable, and ready for use at all times.
Adjusting Holster Placement for Comfort and Accessibility
Because comfort and accessibility directly affect your ability to draw quickly, you should position your IWB holster carefully, commonly at the 12 o’clock or appendix carry spot.
Start by adjusting the ride height so the grip sits just above your waistband for an easy, natural grasp.
Next, experiment with the cant angle; a forward cant speeds up your draw, while a reverse cant may help with concealment.
Don’t forget to fine-tune the retention screws to secure the firearm without making it hard to draw.
As you wear different clothes or move throughout the day, reassess these settings to maintain comfort and accessibility.
Taking the time to customize your holster placement guarantees you’re ready to draw smoothly and comfortably whenever needed.
Ensuring Proper Retention on the Belt Holster
Fine-tuning your holster’s placement sets the stage for a smooth draw, but securing your firearm in the holster is just as important.
Ensuring proper retention means your firearm won’t fall out during movement while still allowing a quick draw when needed. Here’s how to get it right:
- Adjust the retention screws so the gun stays firmly in place without being too tight.
- Test retention by gently shaking the holster; your firearm shouldn’t shift or fall out.
- Use a holster designed for your specific firearm model to guarantee a perfect fit.
Regularly check for wear or loose parts to maintain reliability.
Remember to balance retention and draw speed for maximum safety and efficiency.
Choosing the Right Belt for Holster Support
You’ll want to pick a gun belt designed to handle the weight of your holster. Unlike regular belts that can sag or twist, these are made to stay firm.
Look for durable materials like leather or nylon, especially ones with reinforced stitching to keep everything secure. A sturdy belt makes sure your holster stays tight and stable, which means more comfort and quicker access when you need it.
Gun Belt Vs Regular
Choosing the right belt is essential when carrying a holster, as it directly impacts comfort, security, and accessibility. Gun belts outshine regular belts by providing the necessary support to hold your firearm firmly in place.
Here’s why you should choose a gun belt over a regular one:
- Strength and Stability: Gun belts are thicker and reinforced, preventing sagging and holster shifting.
- Secure Fit: Multiple sizing holes allow easy adjustments, ensuring the holster stays tight against your body.
- Improved Draw Efficiency: A gun belt keeps the holster stable, enhancing retention and quick access to your firearm.
Regular belts often lack the durability and structure needed to maintain proper holster position, compromising comfort and concealment.
Material and Durability
Material quality and durability play an essential role in selecting the right belt to support your holster. You want a gun belt made from sturdy materials like leather or nylon that can handle your firearm’s weight without sagging.
Look for belts at least 1.5 inches wide with reinforced stitching and a stiff design to keep your holster stable and prevent shifting during movement. Avoid regular belts, as they lack the necessary structure for comfort and safety.
Also, choose belts with multiple adjustment holes for a customized fit. Here’s a quick comparison:
| Feature | Ideal Gun Belt |
|---|---|
| Material | High-quality leather or nylon |
| Width | Minimum 1.5 inches |
| Construction | Reinforced stitching, stiff |
| Adjustability | Multiple holes for custom fit |
Common Mistakes When Putting a Holster on a Belt
Although putting a holster on your belt might seem straightforward, several common mistakes can compromise safety and comfort.
Placing a holster on your belt seems simple but common errors can affect safety and comfort.
Avoid these pitfalls to guarantee your holster fits securely and your firearm is accessible.
- Skipping the Safety Check: Always confirm your gun is unloaded before holstering to prevent accidental discharges.
- Improper Positioning: Placing the holster too far back or too low can slow your draw and cause discomfort.
- Using the Wrong Belt: A regular belt may sag and fail to support the holster properly.
Opt for a sturdy gun belt to maintain stability and concealment.
Tips for Drawing Your Gun From a Belt Holster
Drawing your gun from a belt holster quickly and safely requires practice and proper technique.
Start by maintaining a solid grip on your firearm before you draw to avoid fumbling. Use your dominant hand to pull the gun smoothly, while your non-dominant hand naturally moves to create space.
Keep your finger off the trigger until you have a clear sight of your target to prevent accidental discharge. Practice your draw with a fluid motion, so you can access your gun efficiently under stress.
Familiarize yourself with your holster’s retention system to improve your speed and confidence. Regular training guarantees you respond instinctively and safely when it matters most.
Consistency and focus are key to mastering your draw from a belt holster.
Maintaining Your Holster and Belt for Longevity
To keep your holster and belt functioning properly, you need to inspect them regularly for signs of wear like fraying or cracks. This helps guarantee they stay secure and reliable during use.
Here’s how to maintain them for longevity:
- Clean your leather holster with a damp cloth and conditioner to prevent drying and cracking.
- Wipe nylon holsters with mild soap and water.
- Store both items in a cool, dry place away from direct sunlight to avoid heat and moisture damage.
- Avoid over-tightening your holster on the belt and periodically check retention screws, adjusting them for maximum security and ease of draw.
Frequently Asked Question
Can I Use a Holster on Belts Other Than Leather or Nylon?
Ever tried using a regular belt to carry your holster, only to find it sagging or shifting uncomfortably? You’re not alone. Many people wonder if belts other than leather or nylon can do the job.
With concealed carry becoming more common, having a reliable holster setup is more important than ever—did you know that a well-fitted gun belt can significantly improve comfort and safety?
The truth is, while you can technically use other types of belts, most aren’t built to support the weight and keep your holster securely in place. This can lead to discomfort and even safety issues.
That’s why gun belts made from sturdy leather or durable nylon remain the top choice for most carriers.
To help you get the best fit and feel, we’ve rounded up the best holster-friendly belts that balance strength, comfort, and style.
Whether you’re new to concealed carry or looking to upgrade, these options will keep your gear solid and accessible.
Here are the top options that stood out after extensive testing.
How Do I Clean Sweat or Dirt From My Holster?
Ever noticed how sweat and dirt can really wear down your holster over time? It’s a common issue that many gun owners overlook, but did you know that over 60% of holster damage actually comes from improper cleaning?
Keeping your holster clean isn’t just about looks—it helps maintain its durability and performance, which is why proper care is so important.
With so many types of holsters out there, from leather to plastic, knowing the right way to clean them can be tricky. That’s why we’ve put together simple, effective tips to help you safely remove sweat and dirt without damaging your gear.
Whether you’re dealing with everyday grime or tougher stains, these easy steps will keep your holster in top shape.
Ready to learn how to give your holster the care it deserves? Here are the best cleaning methods that stood out after careful consideration and testing.
Are There Holsters Designed for Left-Handed Users?
Ever struggled to find a holster that fits comfortably on your left side? Left-handed shooters often face this challenge, as many holsters are designed with right-handed users in mind.
With left-handedness making up about 10% of the population, it’s no surprise that demand for left-friendly gear is growing.
That’s why holsters made specifically for left-handed users are essential—they offer a comfortable, quick draw tailored for your dominant side. From inside-the-waistband (IWB) to outside-the-waistband (OWB) and shoulder holsters, many brands now provide options that prioritize retention, cant, and ride height for the best fit and accessibility.
Plus, if you want versatility, some ambidextrous holsters let you switch hands as needed.
To make your search easier, we’ve gathered the top holsters designed for left-handed shooters, highlighting the features that matter most. Here are the best picks that stood out after careful review and testing.
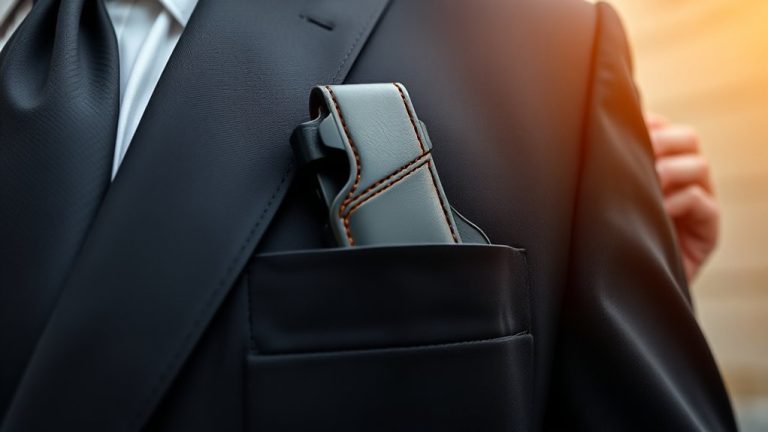
Can I Carry a Holster on a Dress Belt?
Ever tried carrying a holster on a dress belt only to find it sagging or shifting around? It’s frustrating, right?
Dress belts just aren’t built to handle the weight and bulk of a holstered firearm, which can lead to discomfort and poor concealment when you need quick access the most.
With personal safety and comfort being top priorities, using the right gear matters more than ever. In fact, many experts recommend dedicated gun belts because they’re designed specifically to support the weight and keep your holster stable, so you carry safely and confidently without fuss.
To help you avoid those common pitfalls, this guide breaks down why a dedicated gun belt is essential and what to look for when choosing one.
You’ll get clear advice on how to keep your holster secure and comfortable all day long.
Here are the top options that stood out after extensive testing and user feedback.
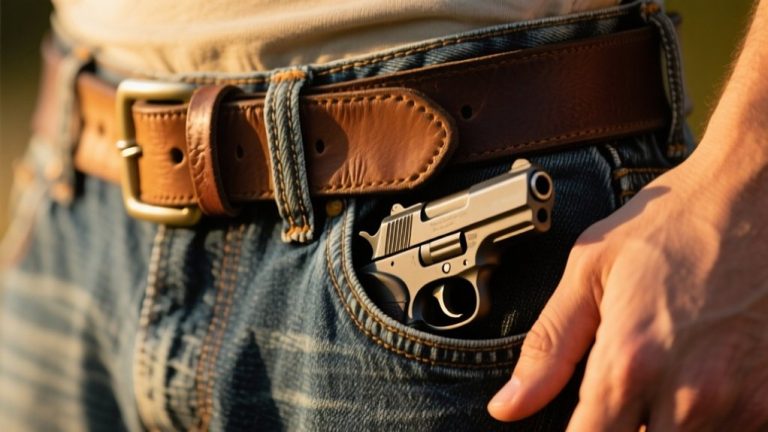
How Do I Avoid Printing When Carrying Concealed?
Worried about your concealed carry printing through your clothes? It’s a common concern for anyone who wants to carry discreetly without drawing unwanted attention.
With more people choosing concealed carry for personal safety, knowing how to avoid printing has become essential for confident, comfortable carry.
Printing happens when the outline of your firearm shows through your clothing, which can defeat the purpose of carrying concealed. The good news is that with the right gear and techniques, you can minimize or even eliminate printing.
Choosing a sturdy gun belt helps keep your holster snug against your body, reducing movement. An inside-the-waistband (IWB) holster with adjustable cant and retention lets you position your firearm where it’s most comfortable and least visible.
Wearing slightly looser or thicker clothes also helps hide that telltale outline. Plus, experimenting with carry positions like appendix or 3 o’clock can make a big difference based on your body type and style.
We’ve gathered practical tips and gear recommendations to help you carry confidently without printing. Here are the top options that stood out after extensive testing.
Conclusion
Putting your holster on your belt is like fitting the final piece into a puzzle. It’s all about balance and precision. When you secure it properly, you’ll carry with confidence, comfort, and quick access.
Remember, the right belt and careful positioning turn your holster into a seamless extension of yourself. Keep fine-tuning your setup, avoid common pitfalls, and treat your gear well to guarantee it stays loyal, just like a trusted companion by your side.