5 Steps to Put Your Paddle Holster On
First, unload your firearm and pick a paddle holster designed for your model. Next, slide the paddle behind your waistband at your preferred carry position, like 3 or 4 o’clock.
Make sure the retention lip secures tightly against your belt or pants for stability. Adjust the cant angle and ride height to balance concealment and quick access.
Finally, test the holster’s stability with gentle tugs and practice smooth draws. Keep going to uncover tips for perfecting your fit.
Prepare Your Firearm and Holster
Before you attach your paddle holster, make certain you unload your firearm by removing the magazine and checking the chamber to confirm it’s clear.
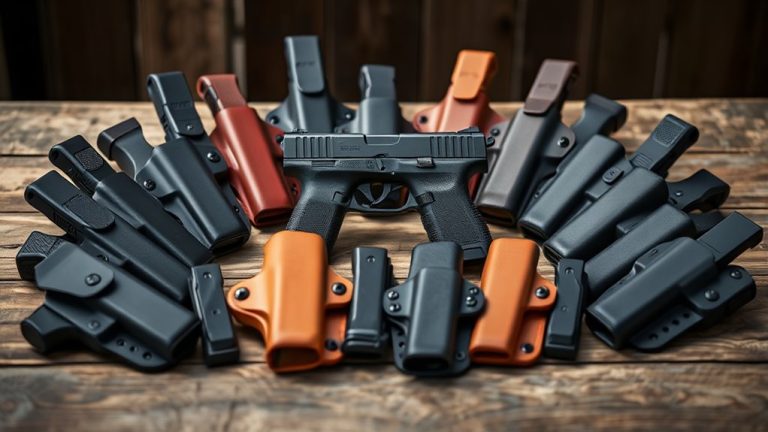
Next, prepare your firearm and select a paddle holster designed specifically for your model to guarantee secure retention during carry.
Select a paddle holster tailored to your firearm model for optimal retention and secure carry.
Familiarize yourself with the holster’s features, including retention systems and adjustability, to maximize comfort and usability.
Inspect the holster carefully for defects or damage that could compromise safety or function.
Choose clothing that allows easy access to your holster while helping to conceal your firearm effectively.
You should also consider holster material and adjustability to ensure both comfort and durability during extended wear.
Position the Paddle Behind the Waistband
To position the paddle behind your waistband, start by choosing your preferred carry angle. Most people find the 3 o’clock or 4 o’clock positions work best.
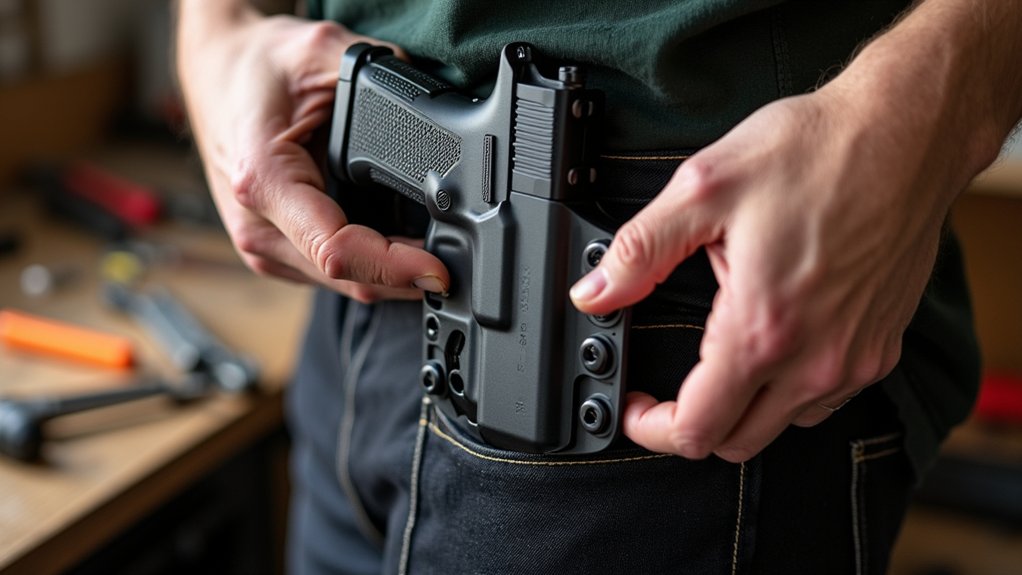
Slide the paddle between your pants and body, making certain it fits snugly against your hip for maximum stability.
Adjust the cant angle to suit your draw style to guarantee quick access when needed.
Perform stability checks by moving around to confirm the holster stays securely in place without shifting or lifting.
- Select your ideal carry position on the waistband
- Insert the paddle firmly against your body
- Adjust the cant angle to match your draw style
- Confirm the retention lip seats securely behind the waistband
- Conduct stability checks to verify maximum stability and quick access
Following these steps guarantees your paddle holster stays securely positioned.
Secure the Retention Ledge or Lip

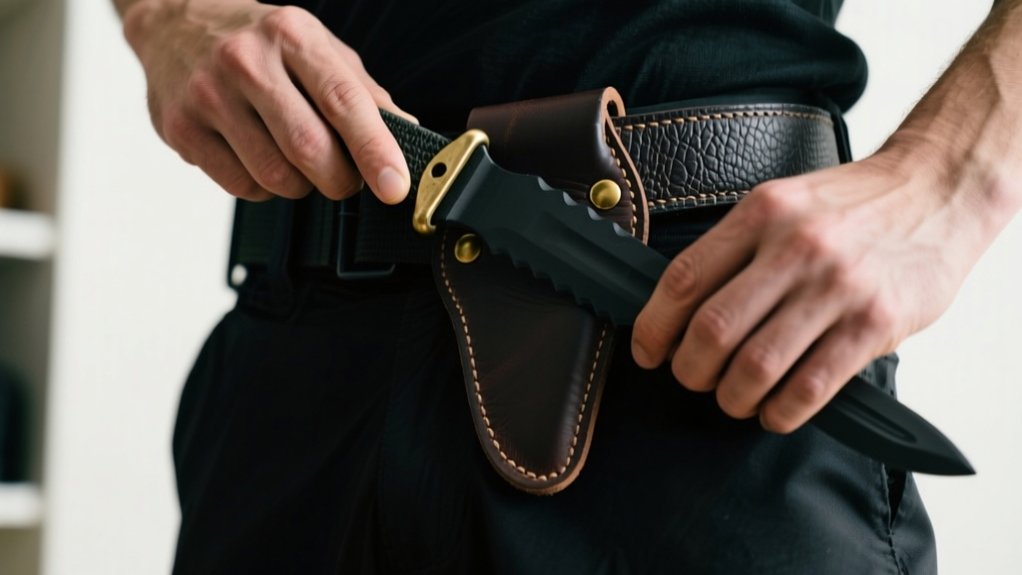
Confirming the retention ledge or lip of your paddle holster locks securely behind your belt or waistband is key to preventing unwanted movement. Position the paddle so the retention lip rests firmly against your belt or pant material, providing stability and a snug fit.
This secure placement stops shifting and keeps your firearm reliably in place. After positioning, perform retention checks by gently tugging the holster to confirm it won’t lift or detach during movement. Proper placement and a tight fit maximize retention and overall security. When using paddle holsters, understanding the importance of retention mechanisms and security features ensures your firearm remains both accessible and protected under various conditions.
| Step | Action | Purpose |
|---|---|---|
| 1 | Position paddle behind waistband | Align retention lip for stability |
| 2 | Confirm lip locks behind belt | Secure placement to prevent shifting |
| 3 | Check snug fit | Improve retention and stability |
| 4 | Tug holster gently | Perform retention checks |
| 5 | Adjust if needed | Confirm secure placement |
Adjust Cant and Ride Height
Frequently, adjusting the cant and ride height of your paddle holster makes a significant difference in comfort and draw efficiency.
Adjusting your paddle holster’s cant and ride height greatly enhances comfort and ease of drawing.
The adjustable cant lets you set the angle, matching your body mechanics for a smooth, natural draw stroke.
Ride height affects how high the holster sits, impacting accessibility and concealment. Proper adjustments secure the holster firmly, enhancing stability and reducing unwanted printing.
Consider these tips when adjusting your paddle holster:
- Set the cant between 0–15 degrees for ideal draw stroke comfort.
- Adjust ride height to keep the grip accessible but concealed.
- Test different positions to reduce printing under clothing.
- Verify both cant and ride height feel secure during movement.
- Balance concealment with quick accessibility for your needs.
Fine-tuning these settings improves both comfort and holster performance. For even better concealment, consider how holster claws reduce printing by pulling the grip of your firearm closer to your body.
Verify Stability and Practice Drawing
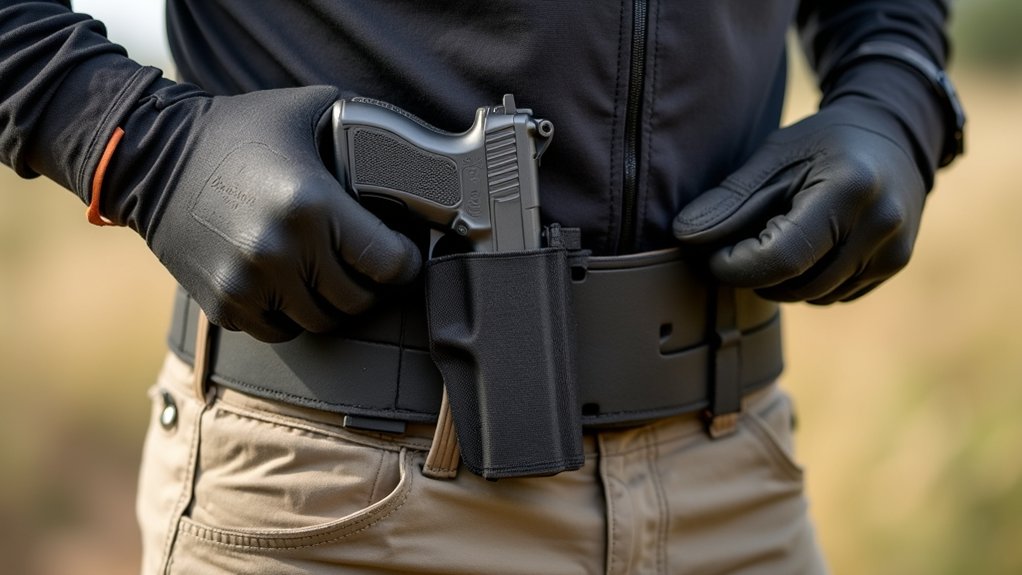
Check your paddle holster’s stability by giving it a gentle tug to confirm it stays firmly in place without shifting. Paddle holsters designed with quick attachment and adjustable retention help prevent unwanted movement, guaranteeing reliable access to the firearm.
After verifying stability, practice drawing your firearm with a smooth draw, maintaining proper trigger discipline and finger placement.
Re-holster your firearm slowly, confirming it’s fully seated to maintain retention.
If you notice any looseness or discomfort, adjust the retention or cant for an ideal fit. Regular practice drawing and re-holstering builds muscle memory and confidence, making your response faster and safer.
This routine guarantees your paddle holster performs as intended, providing secure retention and quick access when you need it most.
Frequently Asked Question
Can I Wear a Paddle Holster With Different Belt Sizes?
Yes, you can wear a paddle holster with different belt sizes. The paddle’s broad design fits securely between your waistband and body without relying on belt loops.
Just make sure your belt is stiff enough to support the holster’s weight. You might need to adjust the paddle’s tension and retention settings for a snug fit.
Also, test the cant angle for comfort and accessibility when switching belt sizes.
Is It Safe to Use a Paddle Holster for Concealed Carry?
Absolutely, you can trust a paddle holster for concealed carry.
Think of it like your trusty six-shooter back in the Wild West, designed for reliability.
As long as you pick one with secure retention, made for your specific firearm, and position it correctly, it’ll stay stable and safe.
Just practice drawing and re-holstering regularly, and always follow local laws.
That way, you’ll carry confidently and responsibly every time.
How Do I Clean and Maintain My Paddle Holster?
To clean your paddle holster, use a damp cloth with mild soap to wipe away dirt, then dry it completely to avoid moisture damage.
For Kydex or polymer holsters, steer clear of harsh chemicals and opt for a gentle cleaner recommended by the manufacturer.
If it’s leather, apply conditioner regularly to keep it flexible and prevent cracks.
Always store your holster in a cool, dry spot away from direct sunlight to maintain its durability.
Can Paddle Holsters Fit Multiple Firearm Models?
Yes, some paddle holsters can fit multiple firearm models, especially those with modular designs or interchangeable shells.
You’ll want to check if the holster offers adjustable retention or customizable options like the ShapeShift system, which lets you swap shells while keeping the same paddle.
Always verify the manufacturer’s specifications to confirm compatibility, since not all paddle holsters are universal.
This way, you’ll get a secure fit and easy access for different firearms.
What Clothing Works Best With Paddle Holster Concealment?
For the best paddle holster concealment, choose pants with a sturdy waistband to keep the holster stable.
Wear looser shirts that comfortably cover the holster without printing its outline.
Thicker fabrics help hide the firearm better than lighter ones.
Adding a jacket or cardigan improves concealment and offers easy access.
Layering your clothing also breaks up the holster’s silhouette, making it less noticeable and enhancing overall concealment.
Conclusion
Now that you’ve mastered these five simple steps to put on your paddle holster, you’re officially ready to avoid fumbling when it counts most. Nothing says “prepared” like struggling with your gear in a hurry.
But seriously, taking a few extra moments to secure your holster properly means you’ll draw smoothly and confidently every time. Practice makes perfect, so don’t skip verifying stability. Your safety depends on it.