
How to Shrink a Leather Holster in 7 Simple Steps
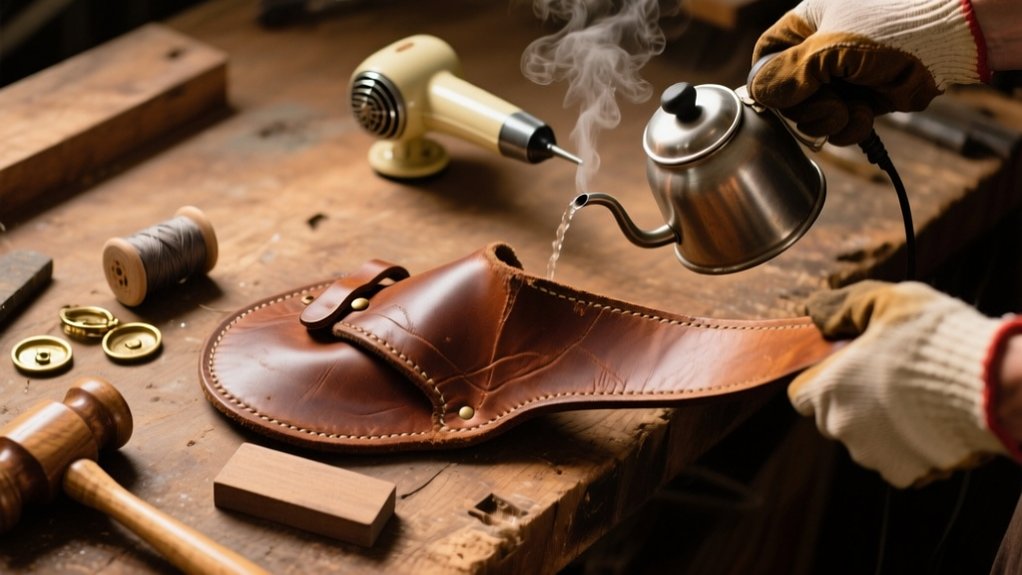
To shrink a leather holster, start by cleaning and lightly dampening it with warm water for even moisture. Wrap your firearm in plastic to protect it, then insert it snugly to shape the leather.
Use a low heat source like a hair dryer at a safe distance to soften fibers, then let it dry naturally with the gun inside. Test the fit and repeat if needed.
Finally, condition the leather to keep it flexible. Detailed steps ahead will help you perfect the process.
Prepare the Leather Holster
Before you begin shrinking your leather holster, make sure it’s thoroughly cleaned and free of dirt or contaminants that could interfere with the molding process.
Start by gathering warm water for soaking and plastic wrap to shield your firearm during treatment.
Test soaking time on scrap leather to determine the ideal duration, usually around 20 seconds, to avoid over-saturation.
Next, apply a thin layer of oil to your firearm to protect its finish from moisture exposure.
Once your leather holster is ready, soak it briefly, then promptly mold it around the firearm, ensuring it fits snugly without excessive stretching or distortion.
Proper preparation of the leather holster is critical to achieving a precise, consistent shrink that maintains the holster’s intended shape and function.
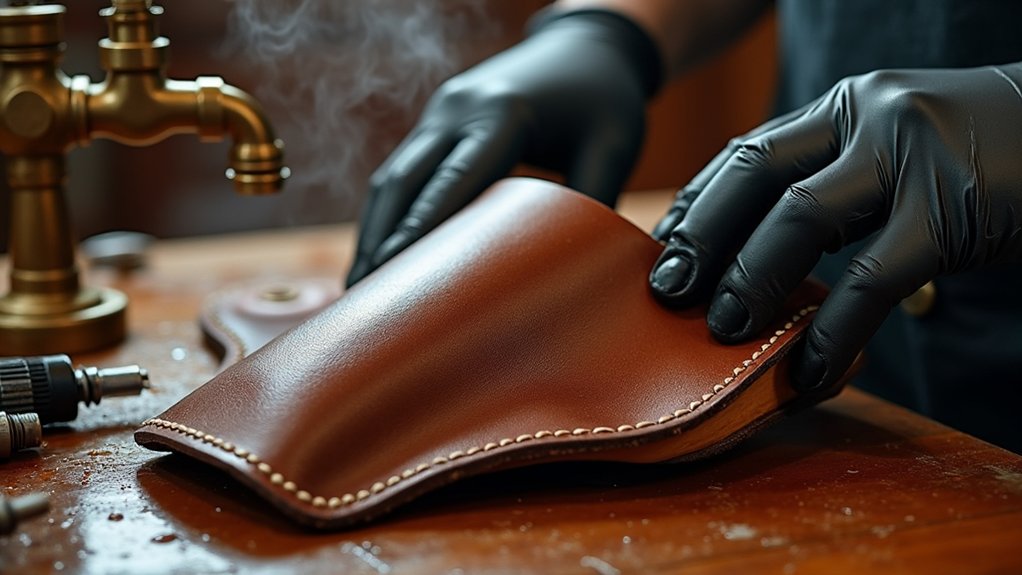
Dampening the Holster Evenly
To dampen your holster evenly, start by soaking it briefly in warm water.
Just make sure the leather soaks up moisture uniformly, but don’t let it get too soaked.
Try to avoid fully submerging the holster because that can cause uneven dampening and might overstretch the leather.
It’s best to focus the moisture on the areas that come into contact with your firearm.
That way, you get a precise mold while keeping the leather’s natural color and flexibility intact.
Proper Moisture Application
When you dampen the leather holster evenly, you guarantee ideal shrinking and molding without compromising its structure. Proper moisture application in leather working requires soaking the holster briefly, about 20 seconds, in warm water until it returns to its natural color and remains cool to the touch.
For finished holsters, use an alcohol spray bottle to maintain even moisture distribution without saturating. Always control moisture levels to preserve rigidity and definition. Test your method on scrap leather first.
| Step | Method | Purpose |
|---|---|---|
| Soak | Warm water, 20s | Saturate evenly |
| Coolness check | Touch surface | Confirm natural color return |
| Spray application | Alcohol mist | Even moisture on finished holsters |
| Testing | Scrap leather | Prevent damage, maintain control |
Avoid Overwetting Risks
Although applying moisture is essential for shrinking your leather holster, you need to avoid overwetting it, as excessive saturation weakens the leather fibers and causes uneven shrinkage.
When dampening, use warm water and limit soaking to about 20 seconds to guarantee the leather absorbs just enough moisture without compromising its structure.
Overwetting leads to weak points, increasing the risk of overstretching or damage during drying. Always apply moisture evenly, preventing localized saturation that disrupts uniform shrinkage.
Monitor the drying environment closely, keeping your holster in a cool, dry place to maintain shape and fiber integrity.
Before working on your holster, test your dampening technique on scrap leather to understand its reaction.
This careful approach prevents overwetting risks and guarantees controlled, effective shrinking.
Uniform Leather Dampening
Achieving uniform dampening is critical for controlled shrinking and molding of your leather holster. To guarantee uniform leather dampening, soak the holster in warm water for about 20 seconds, allowing moisture to penetrate evenly.
Avoid hot water, as it risks uneven dampening and leather damage.
After soaking, gently squeeze out excess water, don’t wring, to maintain consistent moisture levels.
Next, case the leather until it returns to its natural color and feels cool to the touch; this promotes even dampening across the surface.
Before inserting your firearm, verify the holster is uniformly dampened to prevent uneven stretch or shrinkage.
Proper uniform leather dampening directly influences the holster fit, guaranteeing precise molding without compromising structural integrity or comfort.
Insert the Firearm for Shaping
Before inserting your firearm, wrap it thoroughly in plastic wrap to protect it from moisture during shaping. This helps keep everything dry and just right.
Next, position the damp holster carefully and slide the wrapped gun inside. Make sure it sits correctly so it shapes accurately.
Taking this step is really important because it ensures a snug fit as the leather molds around your firearm’s contours.
Proper Gun Wrapping
A critical step in shaping your leather holster involves securely wrapping the firearm in plastic wrap to shield it from moisture and damage.
For proper gun wrapping, use a tight, seamless layer of plastic wrap that fully encases the firearm. This barrier prevents water from seeping in during the shrinking process, protecting the gun’s metal and finish.
Immediately after soaking the holster, insert the wrapped firearm to guarantee the leather conforms precisely to its shape.
Apply firm pressure around the holster, molding it closely to the plastic-covered gun. Leave the holster drying with the firearm inside for several hours, periodically checking the snugness.
Following these steps guarantees a custom-fit holster while preserving your firearm’s integrity through effective use of plastic wrap and proper gun wrapping techniques.
Correct Holster Positioning
Once you’ve wrapped your firearm securely and soaked the holster, insert the plastic-covered gun firmly into the wet leather.
Verify the firearm is clean and oiled beforehand to protect its finish throughout shaping.
Position the gun tightly within the holster, aligning it correctly to replicate how you intend to carry it. This precise placement allows the leather to mold accurately, enhancing retention and comfort.
Leave the holster drying with the gun inside for several hours to let it conform fully. Periodically remove the firearm to check the fit, making minor adjustments without overstretching the leather.
This step preserves the holster’s integrity while achieving a snug, custom shape tailored to your gun’s dimensions.
Proper positioning is essential for peak performance and longevity of your leather holster.
When shaping your holster, it’s important to avoid overstretching the leather so the material retains proper retention and structure as described in leather holster break-in best practices.
Apply Gentle Heat to Aid Shrinking
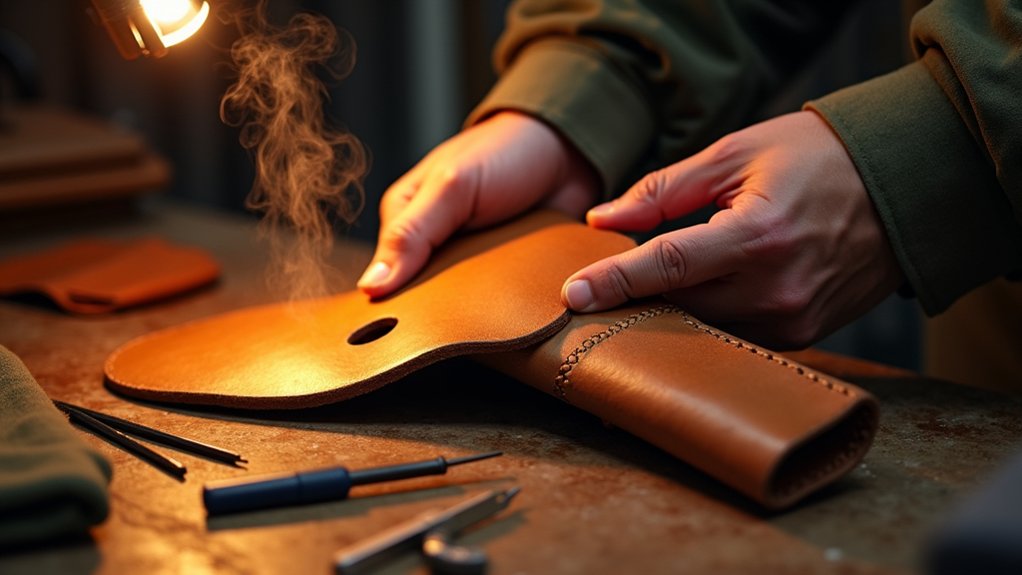
While applying gentle heat, you’ll soften the leather fibers, allowing the holster to shrink more effectively and conform precisely to your firearm’s shape. Use a hair dryer on low, holding it at least 6 inches away to prevent damage.
Keep the leather flexible; avoid drying it out completely before molding. Monitor closely to prevent over-shrinking, which causes stiffness or cracking.
| Step | Action | Tips |
|---|---|---|
| 1 | Set hair dryer to low | Use consistent distance |
| 2 | Heat holster evenly | Avoid overheating areas |
| 3 | Check leather flexibility | Stop if leather stiffens |
| 4 | Mold leather around firearm | Guarantee snug fit |
| 5 | Let leather cool in shape | Maintain holster form |
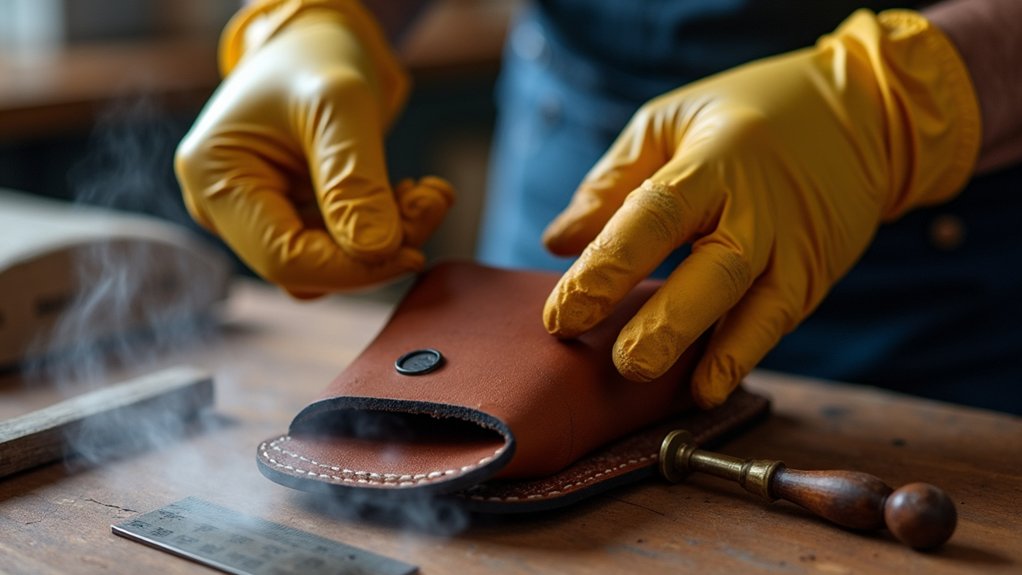
Allow the Holster to Dry Naturally
After molding the leather around your firearm and applying gentle heat, you’ll need to let the holster dry naturally to preserve its shape and integrity.
Place the holster on a soft cloth in a cool, dry area and allow it to dry without exposure to artificial heat sources like hair dryers or ovens, which can cause excessive shrinking or brittleness.
Dry your holster naturally on a soft cloth away from heat to prevent shrinking or damage.
Let it dry completely, a process that can take several hours to a full day depending on humidity and temperature.
While drying, periodically check the holster’s fit to verify it conforms properly without overstretching.
Test the Fit and Repeat if Needed
Test the fit of your holster immediately after it dries by inserting your firearm to guarantee a snug, secure hold without excessive tightness.
If the holster still feels loose, you’ll need to repeat if needed by reapplying the wet molding process and drying it with the firearm inside.
Carefully monitor the leather during drying to prevent overstretching, which can distort the holster’s shape permanently.
Consistently test the fit after each drying session until you achieve ideal retention.
Remember to document moisture levels and drying times for future reference.
This process guarantees confidence in your holster’s secure retention, peace of mind knowing your firearm won’t slip, and satisfaction from a custom, perfectly fitting holster.
Condition the Leather for Longevity
Properly conditioning your leather holster is essential to preserve its flexibility and prevent cracking over time.
To condition the leather for longevity, apply a thin, even coat of a leather-compatible oil like neatsfoot oil after confirming the holster is completely dry.
Avoid excessive application, especially on concealed carry holsters, to maintain structural integrity without oversaturation.
While mink oil softens leather, it’s often not recommended for holsters due to manufacturer warnings.
Incorporate regular treatments with leather care products into your maintenance routine to extend your holster’s lifespan and sustain peak performance.
Remember, moisture presence before conditioning can promote mold growth and degrade the leather, so thorough drying is critical.
Consistent, precise care guarantees your holster remains supple, durable, and functional throughout its use.
Frequently Asked Question
Can Shrinking Damage the Firearm Inside the Holster?
Yes, shrinking a leather holster can damage the firearm inside if you don’t take proper protection measures.
You must guarantee the gun is wrapped in plastic to prevent moisture exposure. Moisture can cause rust or corrosion.
Improper shrinking may also alter the holster fit, risking poor retention and security.
Always dry your firearm thoroughly before reinserting it.
Regularly check both the holster fit and firearm condition after shrinking to avoid damage.
How Often Can I Safely Shrink the Same Holster?
You can safely shrink the same holster only a few times before risking damage.
Frequent shrinking compromises leather integrity, affecting holster care and leather maintenance.
Each time, let it dry fully to preserve shape and rigidity.
Overdoing it can distort fit permanently, so limit attempts and monitor the leather closely.
To avoid repeated shrinking, focus on proper leather care and consider alternative fitting methods to maintain your holster’s longevity and performance.
Is Shrinking Effective on All Types of Leather Holsters?
Shrinking isn’t effective on all types of leather holsters. You’ll find rawhide and chrome-tanned leather respond best to shrinking methods like wet molding, as they can physically contract.
In contrast, natural or oak-tanned cowhide tends to harden but won’t shrink considerably.
Since other types mainly stretch instead of shrinking, applying shrinking methods on them may only offer temporary or minimal fit improvements.
Always test your specific leather before proceeding.
Can I Use a Commercial Shrink Solution Instead of Water?
You shouldn’t rely on commercial shrink options instead of water because they often contain harsh chemicals that can damage your holster.
Stick to water-based leather care techniques for safer, controlled shrinking.
If you’re tempted to try a commercial product, test it on scrap leather first and consult experienced leathercrafters.
This approach protects your holster’s integrity while ensuring a snug fit without risking unwanted alterations or deterioration.
What Should I Do if the Holster Shrinks Unevenly?
If your holster experiences uneven shrinkage, apply uneven shrinkage remedies by re-wetting the affected areas gently.
Use leather stretching techniques by warming the leather with a low-heat hair dryer to make it pliable, then carefully mold those spots for a uniform fit.
Make sure the holster dries fully before re-shaping to prevent further distortion.
Test the fit regularly and document your process to refine your approach and avoid uneven shrinkage issues in the future.
Conclusion
Now that you’ve mastered shrinking your leather holster, imagine slipping in a firearm that fits so snugly it might just refuse to leave. It’s almost ironic how a bit of water, heat, and patience can transform stubborn leather into a perfectly molded shell.
Remember, precision in each step guarantees durability and comfort. With careful conditioning afterward, your holster won’t just fit; it’ll age like a finely tuned machine, ready for action whenever you are.

