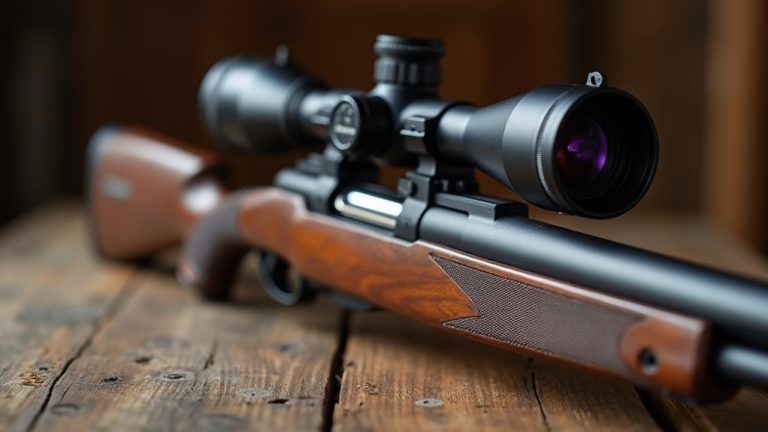
11 Simple Steps to Mount a Rifle Scope
To mount a rifle scope, start by ensuring your rifle’s unloaded and safe.
Clean the mounting surface, then install the base and attach the scope rings.
Position the scope for ideal eye relief, tightening screws to the manufacturer’s specifications.
Bore sight your rifle, and adjust windage and elevation to zero in your scope.
Don’t forget to maintain a log of settings for future reference.
Stick around to discover more detailed steps and tips for precision mounting.
Key Takeaways
- Ensure the rifle is unloaded, engage the safety, and clean the mounting surface before installation.
- Securely install the base using appropriate screws and a torque wrench, tightening to 20-25 inch-pounds.
- Attach the scope rings to the base, positioning the scope for ideal eye relief and tightening in a criss-cross pattern.
- Check alignment and sight picture by shouldering the rifle and adjusting the scope for comfort and clarity.
- Bore sight the rifle at 25 yards, then adjust windage and elevation to zero in the scope accurately.
Safety Inspection
Before you start mounting your rifle scope, it’s crucial to conduct a thorough safety inspection.
First, make sure your rifle is completely unloaded. Check both the chamber and the magazine to verify no ammunition is present.
Open the action of the rifle for a final verification. Once you’ve confirmed it’s unloaded, engage the safety mechanism to prevent any accidental discharge during the scope installation.
Always keep the muzzle pointed in a safe direction and avoid distractions while you work.
Prioritizing safety during this initial step establishes a secure and responsible environment for mounting your scope.
Prepare Your Rifle for a Scope
To prepare your rifle for a scope, start by cleaning the mounting surface of the receiver with a degreaser.
This step removes any oil or residue, ensuring a secure fit between the base and receiver.
Next, place your rifle in a gun vise to hold it securely, maintaining a stable platform during installation.
Ensure your rifle is firmly secured in a gun vise for a stable and safe scope installation.
Make sure the surface of the gun vise is level, as this will help facilitate proper alignment of the scope.
Before moving forward, inspect your rifle to confirm it’s unloaded—double-check the chamber and magazine for safety.
Finally, remove any existing optics or accessories that may interfere with the new scope mounting.
With these steps, you’re ready to proceed to the next phase of the scope installation.
Install the Base on Your Rifle
Installing the base on your rifle is an essential step in guaranteeing your scope is mounted securely and accurately.
Start by cleaning the mounting surface of the rifle receiver with a degreaser.
Next, align the base with the receiver and secure it using the appropriate screws.
| Step | Action |
|---|---|
| 1. Clean Surface | Use a degreaser for a secure fit. |
| 2. Align Base | Confirm it fits snugly on the receiver. |
| 3. Tighten Screws | Use a torque wrench for 20-25 inch-pounds. |
| 4. Apply Loctite | Optional, for added security. |
Double-check the alignment and tightness before moving on.
Proper torque prevents damage while guaranteeing a solid foundation for your scope.
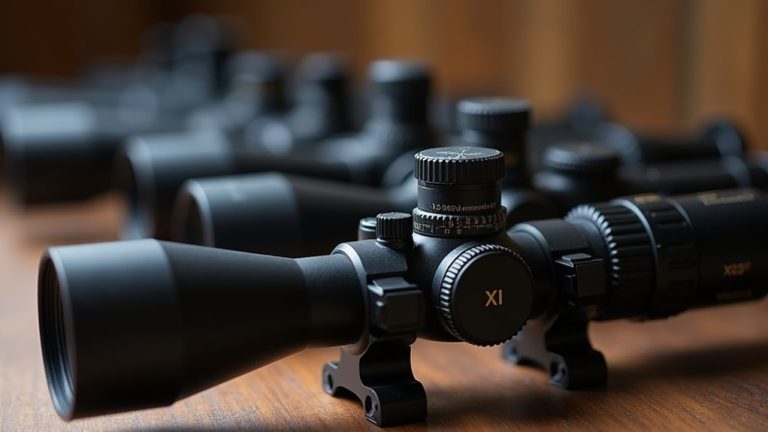
Attach the Scope Rings
With the base securely attached to your rifle, the next step is to attach the scope rings.
Start by selecting scope rings that match the diameter of your scope tube and are the right height for your setup. Hand-tighten the bottom halves of the rings onto the base, ensuring the ring lugs are snug against the rail without excessive force.
Then, position the scope within the rings, adjusting it for ideal eye relief—typically around 3-4 inches. Once you’ve got that right, tighten the upper halves of the rings in a criss-cross pattern to distribute pressure evenly.
Finally, use a torque wrench to tighten the screws to the manufacturer’s recommended specs, usually around 20 inch-pounds, to avoid over-tightening.
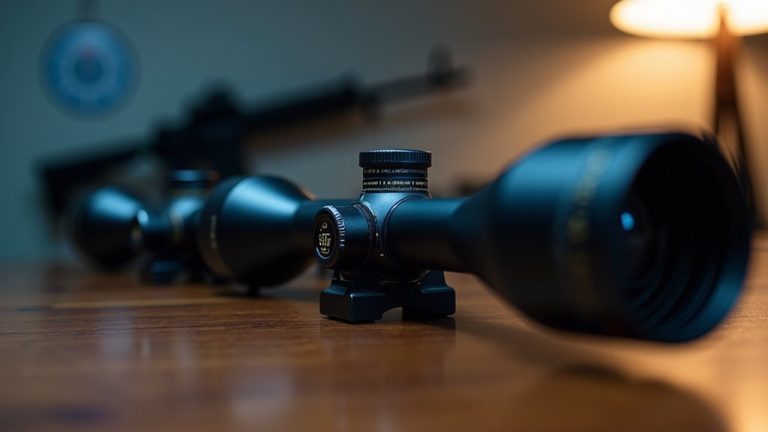
Position the Rifle Scope
Achieving the correct position for your rifle scope is vital for peak performance and accuracy.
Start by shouldering the rifle in a gun and checking the sight picture with your eyes open.
Begin by shouldering your rifle and ensuring the sight picture is clear with both eyes open.
Adjust the scope for ideal eye relief, typically between 3-4 inches. Set the scope at the highest magnification for clearer adjustments.
To confirm proper alignment, use a level on the scope base, making sure the reticle is level with the horizon. This is essential for accurate shooting.
Once you’ve positioned the scope, you’ll need to secure the scope in the rings.
Tighten the upper halves of the rings in a criss-cross pattern, incrementally tightening the screws to the manufacturer’s recommended torque, usually around 15-18 inch-pounds.
Secure the Scope in the Rings
Now that you’ve positioned the scope, it’s time to secure it in the rings.
Make certain to adjust the eye relief to your comfort and check that you’re using the proper torque specifications for your rings.
This will guarantee a solid, reliable mount for accurate shooting.
Proper Torque Specifications
Securing your rifle scope in the rings requires careful attention to torque specifications to confirm it stays stable during use.
Start by using a torque wrench set to 35-45 inch-pounds when securing the scope rings to the base for peak stability.
When tightening the ring screws, aim for a torque of 15-18 inch-pounds; this helps prevent over-torquing, which can damage both your scope and mounts.
Be sure to lightly oil all screws before installation to allow for smooth tightening and reduce corrosion risks.
Also, use a criss-cross pattern when tightening the upper halves of the rings.
Regularly checking and maintaining these torque specifications will confirm your scope remains securely mounted over time.
Eye Relief Adjustment
With the scope securely tightened according to the proper torque specifications, the next step involves adjusting the eye relief for ideal comfort and accuracy.
Position the scope 3-4 inches from your eye to guarantee you achieve a full sight picture when shouldered.
Start by tightening the lower halves of the rings by hand to hold the scope in place, but don’t fully secure them just yet.
Use a level to check that the scope is perfectly aligned with your rifle’s action, adjusting as necessary.
Once everything looks good, securely tighten the upper halves of the rings in a criss-cross pattern to maintain even pressure.
Finally, double-check the eye relief adjustment and scope level before completing the installation process.
Check Alignment and Leveling of Your Rifle Scope
Verifying your rifle scope is properly aligned and leveled is essential for accurate shooting.
Start by using a gun vise to stabilize your rifle and place a level on the action from left to right. This guarantees the rifle is perfectly level during the mounting process.
Next, align the scope reticle with a plumb line or a reliable vertical line source, making sure the horizontal crosshair is level with the horizon.
Use a small bubble level on the scope base to check alignment, adjusting as needed before fully securing the rings.
Incrementally tighten the scope ring screws to 15-18 inch-pounds, keeping even spacing on horizontally split rings.
Consider removing the turret cap for accurate leveling near the adjustment screw.
Adjust for Optimal Eye Relief
Now that your scope is aligned, it’s time to adjust for ideal eye relief.
Start by shouldering your rifle and finding the right distance that feels comfortable, ensuring that your sight picture is clear.
Determine Eye Distance
Finding the right eye distance is crucial for a comfortable and accurate shooting experience.
To determine eye distance, shoulder the rifle and keep your eyes closed. Once you feel ready, open them and check the sight picture for clarity and comfort.
The ideal eye relief usually ranges between 3-4 inches, but it can vary based on personal preference and the type of shooting you’re doing.
For the best results, use the highest power setting on your scope during this adjustment to gauge eye distance accurately.
After finding the correct eye relief, mark the scope’s position as a reference point before finalizing the installation.
This guarantees you’ve achieved a comfortable and effective shooting setup.
Adjust for Comfort
Once you’ve established the correct eye distance, it’s time to adjust the scope for perfect comfort.
Start by shouldering the rifle and keeping your eyes closed. Open them to check the sight picture without straining.
The distance between your eye and the scope should typically be 3-4 inches for maximum eye relief. While adjusting, use the highest power setting to guarantee clarity.
Mark the scope position before fully tightening the rings, so your ideal eye relief remains intact.
Remember, your personal shooting position matters; you might need to tweak the scope for quick shots versus longer-range shots to maintain comfort and accuracy.
Taking these steps will enhance your shooting experience considerably.
Check Sight Picture
How do you guarantee your sight picture is optimal? Start by shouldering your rifle, closing your eyes, and then opening them to check your sight picture without moving your head.
This helps you determine the ideal eye relief, which is usually between 3 to 4 inches from the ocular lens. Adjust the scope position based on comfort and clarity, and make certain to use the highest power setting on the scope during this adjustment.
Before securing the scope rings, mark its position with a pencil or tape.
Finally, once you tighten the rings, always re-check the eye relief to guarantee your sight picture remains clear and comfortable. A precise adjustment makes all the difference in your shooting experience.
Tighten Screws to Manufacturer Specifications
To guarantee your rifle scope is securely mounted, it’s crucial to tighten the screws to the manufacturer’s specifications.
Use a torque wrench to apply the correct amount of pressure, with base screws typically requiring 20-25 inch-pounds and ring screws around 15-18 inch-pounds.
Before installation, lightly oil the screws to promote smooth threading and reduce the risk of galling.
Be cautious not to over-tighten, as this can damage the scope or mounts, leading to misalignment.
When tightening ring screws, follow a criss-cross pattern to maintain even pressure and prevent distortion of the scope tube.
After your initial outings, regularly check the torque of the mounting screws to verify they remain secure and haven’t loosened over time.
Sighting In Your Rifle Scope
Sighting in your rifle scope is an essential step that guarantees your shots land where you aim.
Start by bore sighting your rifle to align the scope with your target. Set your initial target at 25 yards, fire a shot, and check where it lands.
| Step | Action | Purpose |
|---|---|---|
| Bore Sighting | Align scope with target | Make certain first shots are on paper |
| Fire a Shot | Observe bullet placement | Determine necessary adjustments |
| Adjust Windage and Elevation | Correct impact point | Move point of impact to aim |
| Set Zero Stop | Adjust turrets to “0” | Maintain zero for future use |
Final Check and Maintenance Tips
Once you’ve mounted your scope, it’s essential to keep an eye on the torque of the screws to guarantee everything stays secure.
Regular torque checks can prevent issues down the line, so don’t skip this step.
Also, make certain to document any adjustments you make to the scope settings for consistency in your shooting sessions.
Regular Torque Checks
While it might seem like a minor detail, regularly checking the torque of your mounting screws is crucial for maintaining the integrity of your rifle scope.
Aim to keep your base screws within the manufacturer’s specified range of 20-25 inch-pounds, and your ring screws at 15-18 inch-pounds.
Using a torque wrench guarantees you apply the right amount of force, preventing damage from over-tightening.
After your first few outings, conduct these regular torque checks, as vibrations can loosen screws over time.
During these checks, inspect for any signs of wear or damage on screws and mounts.
Keeping everything secure not only enhances performance but also boosts your confidence while using your rifle.
Document Adjustments Made
After confirming your screws are secure, it’s important to document the adjustments you’ve made to your rifle scope.
Start by noting the torque settings used on the screws; this guarantees consistency for future adjustments or re-mounting.
Every few outings, regularly check the torque of these screws to prevent any loosening that could affect your accuracy.
Keep track of any changes made to the windage and elevation turrets to maintain an accurate zero for your rifle.
If you notice any performance changes or a loss of zero, document these as they might indicate issues that need addressing.
Finally, maintain a log of the scope’s settings, including the initial zero distance and any subsequent adjustments, for quick reference during future shooting sessions.
Frequently Asked Questions
How Many Clicks on a Rifle Scope Is 1 Inch?
To adjust your rifle scope by 1 inch at 100 yards, it usually takes 4 clicks if your scope has a 1/4 MOA adjustment per click.
If your scope has a 1/2 MOA adjustment, you’ll only need 2 clicks.
Always check the manufacturer’s specifications for your specific model, as adjustments can vary.
Do You Really Need a Torque Wrench to Mount a Scope?
You don’t absolutely need a torque wrench to mount a scope, but it’s highly recommended.
Imagine your scope wobbling during a vital shot; that’s what over-tightening can lead to. A torque wrench guarantees you tighten screws to the correct specifications, preventing damage and maintaining accuracy.
If you’re inexperienced, it’s especially useful. Even seasoned users benefit from the consistency it provides, making your setup reliable for every shot you take.
What Distance Should You Zero a Rifle Scope?
You should typically zero your rifle scope at 100 yards.
This distance strikes a good balance for most hunting and target shooting scenarios.
However, if you’re shooting in dense forests or close quarters, a 25-yard zero can be advantageous.
For long-range shooting, consider zeroing at 200 to 300 yards, depending on your ammunition’s ballistics.
Always factor in your specific needs and the type of shooting you plan to do when deciding.
Is It Better to Mount a Scope High or Low?
It’s a common belief that mounting a scope high guarantees better visibility, but that isn’t always true.
You’ll find that a low mount often provides a more natural cheek weld, enhancing your alignment and stability.
However, if you’re using a rifle with a larger objective, a high mount might be necessary for clearance.
Ultimately, it’s about your comfort, shooting style, and ensuring you maintain a clear sight picture throughout your shooting experience.
Conclusion
Now that you’ve mounted your rifle scope, remember that practice makes perfect.
The more you familiarize yourself with your setup, the better your shooting will be.
It’s often said that a well-mounted scope can improve accuracy by up to 50%.
While this may vary, ensuring everything’s secure and properly aligned is essential.
So, head to the range and put your skills to the test.
Enjoy the journey of becoming a more accurate marksman with your rifle scope!