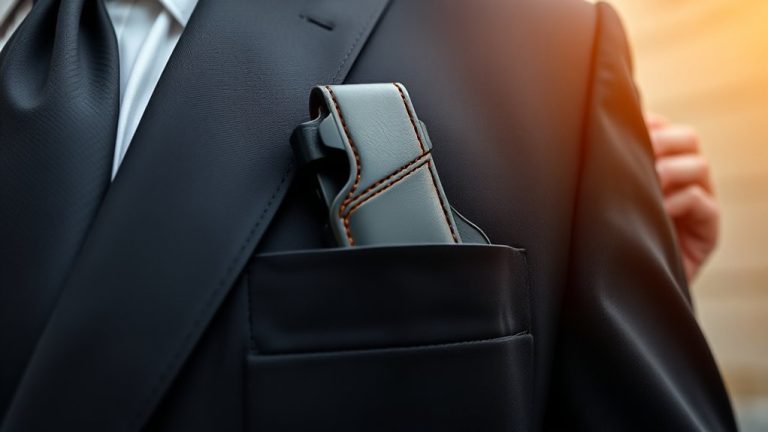
How Does a Holster Claw Work for Step‑by‑Step Setup and Use
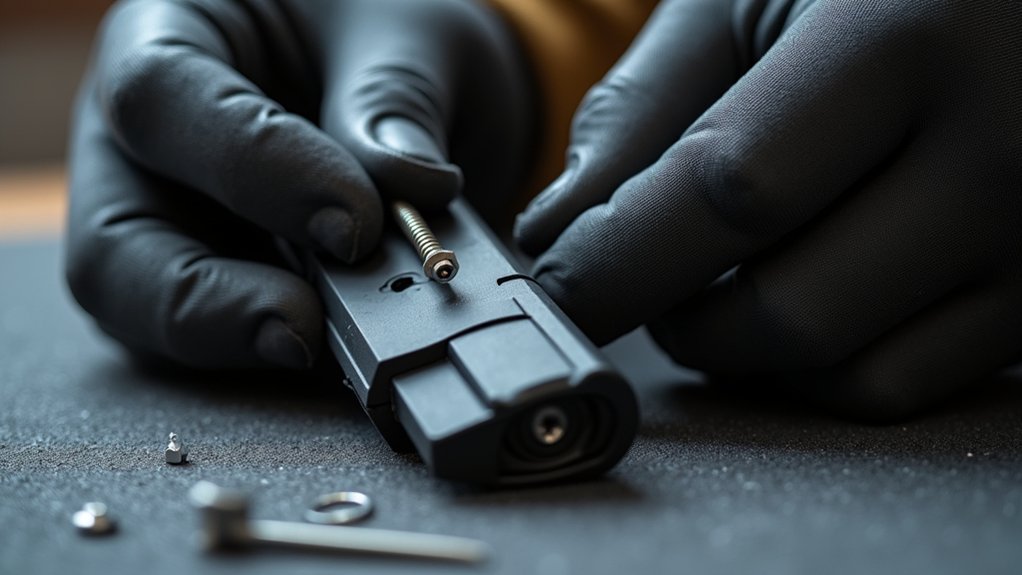
To set up a holster claw, start by selecting the right pad for your desired push level. Then, disassemble your holster’s retention part to make space for installation.
Insert the double-ended back post with the thick rubber washer. Align the claw for effective belt engagement, and secure it with a lock washer and screw.
Adjust retention by fine-tuning the screw for comfort and stability. Performing regular safety checks guarantees reliable use.
Keep exploring to fully optimize your holster’s concealment and security.
Understanding the Components of a Holster Claw
Although the holster claw might seem like a simple accessory, understanding its components is vital for proper setup and use.
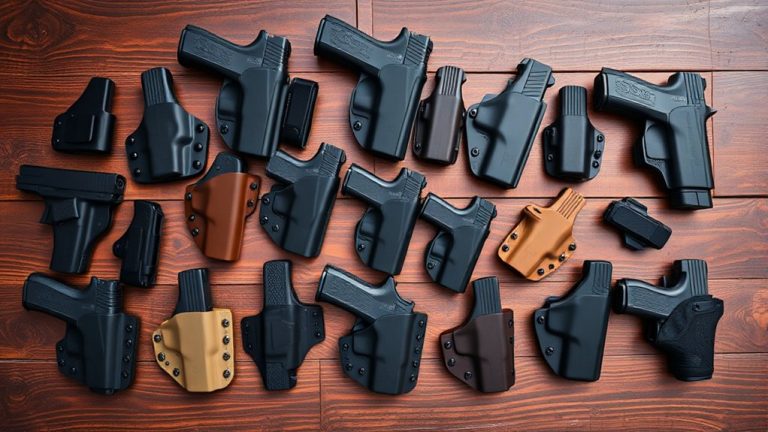
Your holster claw package includes the claw itself, two pads (thick and thin), a lock washer, a double ended back post, a thick rubber washer, and two small screws. These parts work together during installation to secure the claw firmly to the back of the holster.
The double ended back post is key. It fastens the claw while allowing for adjustments. You can customize the claw’s push by selecting different pad thicknesses and placement options.
Designed for both right- and left-handed holsters, the holster claw accommodates various carry styles.
Always verify all components are tightly fastened and intact for reliable performance and safety during use.
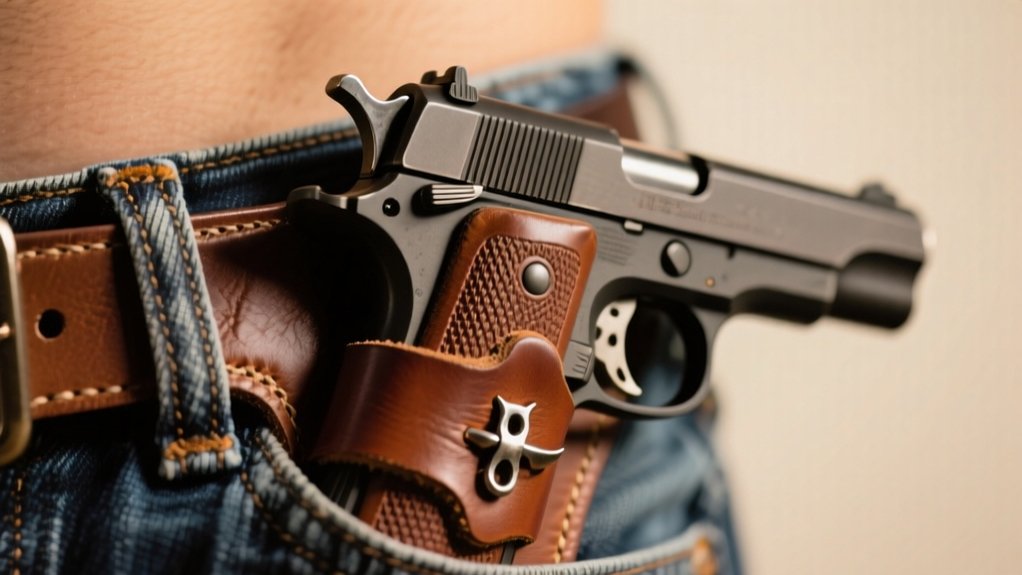
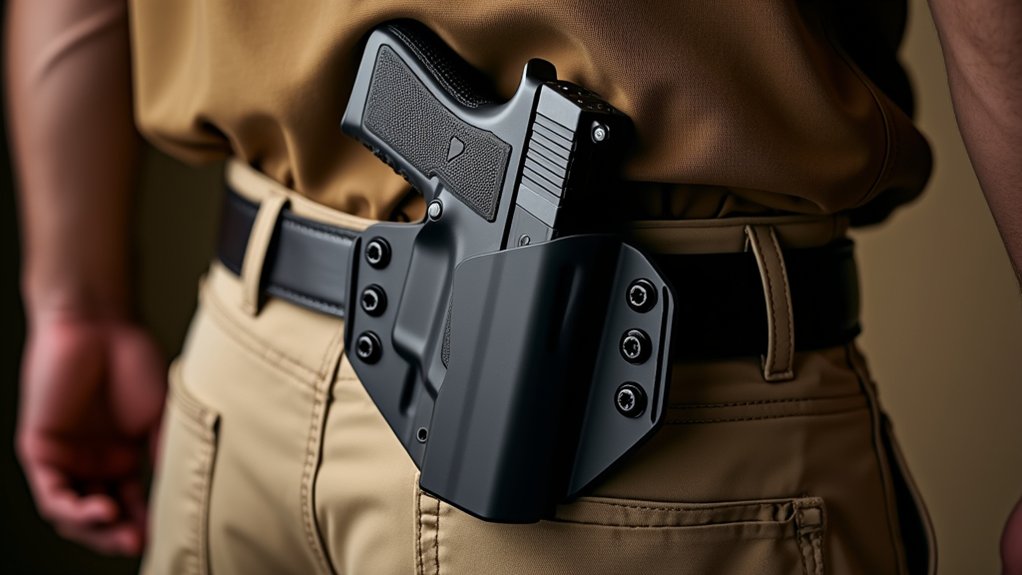
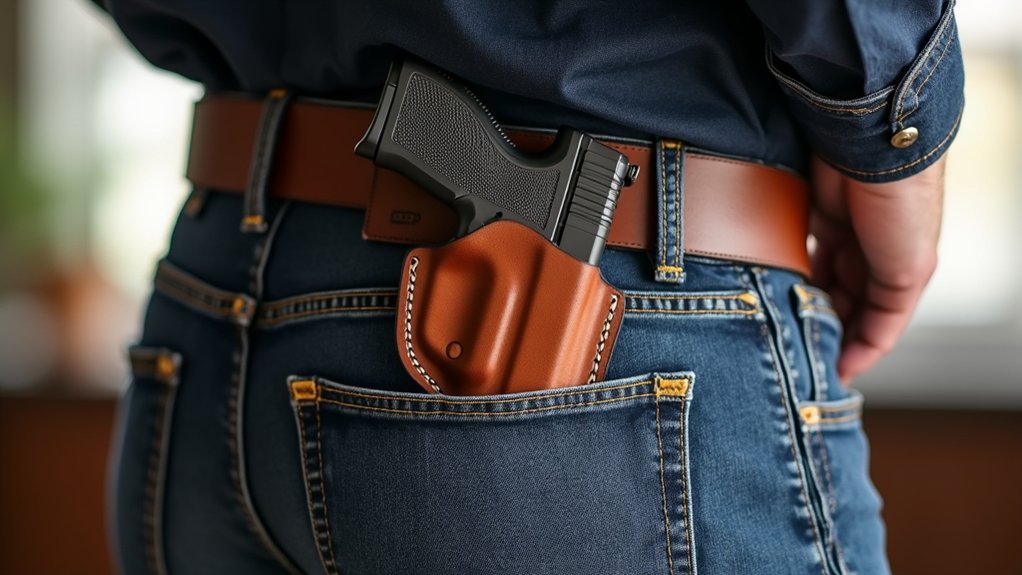
It’s also important to note that the holster claw relies on a sturdy gun belt to function properly, ensuring the firearm grip is pressed close to the body for optimal concealment.
Preparing Your Holster for Claw Installation
Before installing the holster claw, you’ll need to disassemble the retention part of your holster to create enough space for the components.
Start by gathering all claw parts: the double ended back post, thick rubber washer, lock washer, and screws.
People holsters vary, so make certain you select the correct side for attachment based on your dominant hand, right or left.
Insert the short end of the double ended back post into the thick rubber washer first.
Then, position the long end into the chosen side of the holster.
Don’t forget to place the lock washer on the back post before securing the claw.
This step guarantees a firm, reliable fit and prepares your holster for the next phase of installation.
When installing your claw, be sure to consider the impact on printing under clothing, as a properly positioned claw will help reduce the visibility of your firearm’s outline for better concealment.
Selecting the Appropriate Pad for Your Carry Style
You’ll pick between a thick or thin pad, depending on how much push you prefer for your carry style.
Think about whether you want aggressive, moderate, or minimal push—that’ll help you decide the best spot for the pad, either at the front or back of the holster.
Getting the pad in just the right place makes sure you stay comfortable, keep your carry concealed, and maintain stability all day long.
When selecting your pad, consider how holster claws can further enhance concealment by pulling the firearm’s grip inward and minimizing printing under clothing.
Pad Types Overview
When selecting the appropriate pad for your carry style, consider how much push the holster claw exerts against your body. The claw package offers two pad material options: thick for more aggressive or moderate push and thin for light or minimal push.
Your choice impacts user comfort factors and concealment techniques, so align the claw properly with your belt for best results. Use the table below to guide your selection based on push level and claw position.
| Push Level | Claw Position | Pad Thickness |
|---|---|---|
| Aggressive | Front | Thick |
| Moderate | Front | Thin |
| Minimal / Light | Back | Thick / Thin |
Select wisely to balance comfort and concealment effectively.
Push Level Differences
Although selecting the right pad might seem straightforward, understanding the push level differences guarantees you tailor the holster claw’s pressure to your carry style.
Push level variations depend on pad thickness and claw placement, directly affecting holster comfort adjustments based on your carry style preferences.
- For aggressive push, use the thick pad at the front. This creates a strong inward pull for maximum concealment.
- Moderate push combines the thin pad at the front, balancing comfort and concealment effectively.
- Light to minimal push involves placing the claw at the back, using either the thin or thick pad to reduce pressure and improve comfort.
Matching Pad To Carry
Understanding how push levels vary with pad thickness and placement helps you match the right pad to your carry style.
If you want strong holster retention, choose the thick pad placed on the front for an aggressive push that secures your firearm firmly.
For a comfort balance, the thin pad offers moderate push, maintaining hold without sacrificing ease of wear. Positioning the thick pad on the back reduces push intensity, ideal if you want retention but prefer less bulk.
Meanwhile, the thin pad on the back provides minimal push, focusing on comfort over retention.
Selecting your pad thoughtfully improves concealment strategies by ensuring your holster sits stable and discreet.
Tailor your setup to your personal needs for best comfort, retention, and effective concealment during daily carry.
It’s also important to adjust the holster’s cant to fine-tune draw angle and comfort, as this can enhance both concealment and accessibility no matter which pad configuration you choose.
Disassembling the Retention Part of the Holster
Before you start disassembling the retention part of your holster, make certain it’s completely empty and safe to handle.
Safety considerations are vital to avoid accidents.
Follow these disassembling techniques to remove the retention mechanisms effectively:
1. Use a screwdriver to carefully remove all screws securing the retention component.
Keep track of every part to prevent loss.
2. Gently detach the retention mechanism, noting its orientation to guarantee smooth reassembly later.
3. Disconnect any associated components linked to the retention system before proceeding with further modifications.
Attaching the Claw Using the Double Ended Back Post
Start by preparing your holster with the retention part disassembled to install the claw using the double ended back post.
Insert the short end of the back post through the thick rubber washer. This cushioning boosts claw benefits by reducing wear on the holster.
Next, pick the side you want the claw on and insert the long end of the post there.
Before attaching the claw, place the lock washer onto the post to secure it firmly.
Finally, use the provided screw to tighten everything.
Installation tips: avoid overtightening, which can damage threads, and confirm the lock washer is in place to prevent loosening.
Common mistakes include skipping the rubber washer or lock washer, which compromises stability and reduces claw effectiveness.
Follow these steps carefully for reliable performance.
Positioning the Claw for Desired Push and Angle
You’ll want to position the claw to get your preferred push level. This means deciding whether to place it in the front or back, and then choosing a thick or thin pad to match.
It’s important to make sure the claw’s angle lines up perfectly with your belt—that way, you keep everything stable and well hidden.
Plus, after you’ve installed it, you can still tweak these settings. That lets you fine-tune comfort and accessibility without losing any retention.
Push Level Selection
Selecting the right push level for your holster claw means positioning it either on the front or back of the holster.
You’ll use thick or thin pads to control how much pressure is applied. Understanding claw placement tips helps you get the push level effects you want while keeping comfort in check for daily wear.
For an aggressive push, place the claw on the front with the thick pad for maximum pressure.
Use the thin pad on the front for a moderate push. This balances concealment and retention nicely.
Position the claw on the back with thick or thin pads to get minimal or light push levels, prioritizing comfort.
Adjust the claw’s placement based on your personal comfort and accessibility preferences to optimize your carry experience.
Claw Angle Alignment
Although it might seem minor, aligning the claw angle with your belt is essential for effective concealment and holster stability. Proper claw adjustment techniques guarantee the holster presses firmly against your body, enhancing comfort and accessibility.
Position the claw carefully to match your desired push level and improve holster stability factors.
| Push Level | Claw Position & Pad |
|---|---|
| Aggressive Push | Front with thick pad |
| Moderate Push | Front with thin pad |
| Minimal Push | Back with thick pad |
Optimal concealment strategies rely on this precise positioning. Regularly check the claw’s alignment after installation to maintain secure attachment.
Adjusting the claw angle properly prevents printing and keeps your carry discreet while stabilizing the holster effectively against your belt.
Securing the Claw With Lock Washer and Final Screw
Start by threading the lock washer onto the back post after inserting it into your holster’s chosen side. This lock washer plays a key role in claw tension maintenance, preventing loosening during use.
Next, focus on screw alignment techniques to guarantee the claw lines up perfectly with your belt. Proper alignment is essential for stability and performance.
Finally, use washer installation tips to secure the final screw tightly, locking the claw firmly in place. Follow these steps:
- Insert the back post and thread the lock washer fully.
- Align the claw carefully with the belt for best hold.
- Tighten the final screw securely, checking for firm stability.
Regularly inspect the lock washer and screw to keep your holster safe and effective. Many holster accessories, including claws, are designed to work in tandem with retention mechanisms and security features to enhance firearm retention and overall safety.
Adjusting Retention Without Affecting Stability
When you adjust the final screw after installing the claw, you can fine-tune your holster’s retention without disturbing its stability. This is a key benefit of proper claw installation techniques, which guarantee the claw’s position remains fixed while allowing retention to be customized.
To improve retention performance factors, loosen or tighten the screw incrementally, testing draw resistance after each adjustment. Keep in mind that proper alignment is essential; any misalignment can impact stability and compromise your carry style.
Follow these holster adjustment tips: make small changes, confirm the claw remains securely attached, and verify consistent retention throughout use.
This approach lets you optimize comfort and security without sacrificing the holster’s overall balance or effectiveness.
Performing Safety Checks and Maintenance
After fine-tuning your holster’s retention and confirming the claw is securely in place, you need to perform regular safety checks and maintenance to keep everything functioning properly.
Follow these safety procedures as part of your maintenance schedule:
- Use an inspection checklist before each use to verify the claw’s alignment with your belt and confirm all screws, especially the final one, are tightened correctly.
- Conduct a functionality test after any adjustment to verify the holster holds securely and allows a smooth draw.
- Schedule periodic maintenance to reassess the claw’s attachment, addressing wear or discomfort and making necessary adjustments.
Adhering to this routine confirms your holster claw remains reliable, safe, and comfortable for daily use.
Frequently Asked Question
Can a Holster Claw Be Used With All Types of Holsters?
You can’t use a holster claw with all holsters because holster compatibility varies by design. To guarantee claw effectiveness, you need to check if your holster allows for accessory integration without compromising retention.
Some holsters require disassembly for installation, so confirming this beforehand is essential. When properly integrated, the claw improves concealment and stability.
But always verify secure attachment and alignment for peak performance with your specific holster type.
Does a Holster Claw Affect Draw Speed or Ease?
Like a well-tuned engine, a holster claw can improve your draw speed and ease of use by pulling the grip snugly against your body. This reduces printing and keeps your firearm secure without hindering quick access.
For competitive shooting, proper alignment and adjustment of the claw are vital to avoid any drag or resistance.
Regularly check its fit to maintain smooth, fast draws and best performance during intense scenarios.
What Materials Are Holster Claws Typically Made From?
Holster claws are typically made from plastic composites, metal alloys, and nylon fabrics to guarantee durability and reliable performance.
You’ll find plastic composites provide strength and flexibility, while metal alloys offer secure attachment and toughness.
Nylon fabrics often improve comfort and grip against your body.
When setting up your holster claw, these materials work together to give you a stable, adjustable fit that prevents slippage during carry.
How Do Weather Conditions Impact Holster Claw Performance?
Wondering how weather conditions affect your holster claw’s performance? Changes in temperature can stiffen materials, reducing holster stability and making adjustments tougher.
Moisture exposure risks rusting metal parts, which undermines moisture resistance and secure attachment.
To maintain ideal holster stability, regularly inspect for corrosion and wear, especially after rain or humidity.
Understanding temperature effects on rubber components also helps you keep consistent comfort and reliable carry throughout the seasons.
Can a Holster Claw Cause Discomfort During Extended Wear?
Yes, a holster claw can cause discomfort during extended wear if its placement isn’t right.
You need to focus on claw placement, ensuring it aligns well with your belt and body shape.
Make comfort adjustments by choosing the right pad thickness and angle to reduce pressure points.
Regularly check and tweak these settings to prevent rubbing or discomfort, so you can carry securely and comfortably throughout the day.
Conclusion
Now that you’ve installed and adjusted your holster claw, you’re ready to carry with improved comfort and stability. Remember, the key is fine-tuning the claw’s position to fit your body and draw style. Don’t be afraid to make small tweaks until it feels just right.
Keep up with regular safety checks and maintenance to guarantee it stays reliable. With this setup, you’re not just carrying—you’re carrying smart, no ifs, ands, or buts.