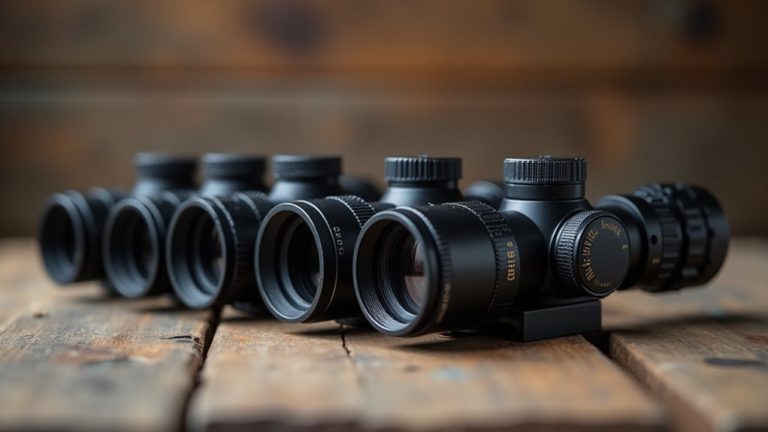
8 Simple Steps to Correctly Mount Your Rifle Scope
To mount your rifle scope correctly, start by ensuring your firearm’s safe and free of ammunition. Proper mounting of your rifle scope is essential for achieving accuracy and precision.
Level the action and scope using a bubble level. Identify the proper ring locations and position the scope within the rings. Hand-tighten the rings securely, then check the scope’s level again.
Make final adjustments for eye relief and confirm alignment. Finally, zero your scope at the desired distance for accuracy.
Stick around to uncover more in-depth tips and tricks for mounting!
Key Takeaways
- Ensure the rifle is unloaded and engage the safety before starting the scope mounting process.
- Level the rifle action and scope using a bubble level for accurate alignment.
- Securely mount the scope rings, hand-tightening initially for proper eye relief and reticle alignment.
- Tighten the ring screws to 15-18 inch-pounds while maintaining sight picture and alignment.
- Zero the scope at a distance of 25 yards, adjusting turrets based on bullet impact.
Safety Inspection
Before you start mounting your rifle scope, it’s crucial to prioritize safety.
Begin with a thorough safety inspection of your firearm. Always confirm that your rifle is completely free of ammunition to prevent any accidental discharge.
Engage the safety mechanism during the entire scope mounting process to guarantee the firearm can’t be unintentionally fired.
Next, open the action and visually inspect the chamber to verify no rounds are present.
Remember to treat every firearm as if it’s loaded, reinforcing the importance of safety.
Leveling the Action
To guarantee your scope is mounted accurately, leveling the action of your rifle is vital.
Start by securing your rifle in a gun vise to keep it stable and immobile.
Next, place a level on the action from left to right to check its alignment.
If you’re unsure, use a barrel level as a secondary reference to confirm the rifle’s horizontal position.
Adjust the rifle until the bubble in the level is centered; this verifies that the action is level and ready for scope mounting.
It’s important to maintain this level position throughout the entire scope-mounting process to assure accuracy and proper sight alignment.
Identifying Ring Location
When it comes to identifying ring location, your placement strategy is key for stability and accuracy.
Position one ring near the stock and the other closer to the barrel, ensuring the lugs fit snugly against the rails.
Ring Placement Strategy
Finding the right ring placement is essential for mounting your rifle scope effectively.
Your ring placement strategy should involve positioning one ring over the bridge near the stock and the other near the barrel. This distributes the scope’s weight evenly and enhances stability.
Hand-tighten the bottom portion of the rings on the rail, ensuring they’re secure but not fully tightened, allowing for later adjustments.
Make sure the ring lugs are snug against the rails to prevent any movement during firing. Be ready to adjust the ring placement to achieve ideal eye relief and reticle alignment.
Ring Lug Positioning
After securing the rings in their initial positions, it’s important to focus on ring lug positioning to confirm ideal scope alignment.
You should hand-tighten the bottom portion of the scope rings onto the rail, allowing for adjustments. Position one ring over the bridge near the stock and the other near the barrel.
This confirms proper alignment and support for the scope and firearm. Make sure the ring lugs are snug against the rails to prevent any movement.
Adjust the positioning to achieve a full sight picture before finalizing the mounting process.
| Ring Position | Purpose | Adjustment Tips |
|---|---|---|
| Near Stock | Stability | Confirm snug fit |
| Near Barrel | Alignment | Check for clear sight |
| Both Lugs | Prevent Movement | Tighten ring screws |
Avoiding Ring Lapping
While you might think that lapping scope rings is essential for achieving perfect alignment, modern manufacturing tolerances often make it unnecessary.
To guarantee a solid mounting system without the need for lapping, follow these steps:
- Position one ring over the bridge near the stock and the other near the barrel for proper alignment and stability.
- Hand-tighten the bottom portion of the rings on the rail to prevent misalignment before final adjustments.
- Confirm that the ring lugs fit snugly against the rails to avoid any movement during firing.
- Regularly re-evaluate the ring location and spacing for a clearer sight picture and ideal eye relief.
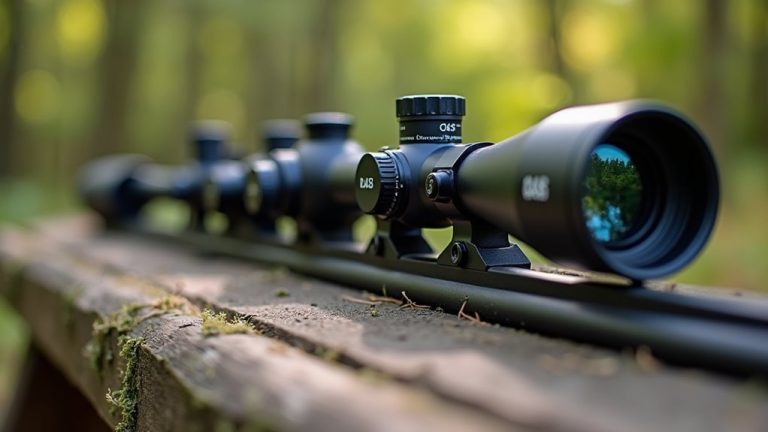
Positioning the Scope
Positioning your rifle scope correctly is essential for achieving ideal accuracy and comfort. Start by ensuring the scope sits level with the rifle’s action, making the reticle parallel to the horizon.
This alignment helps improve your shooting precision. Adjust the scope’s eye relief by moving it forward or backward until you find a comfortable sight picture when you shoulder the rifle.
Make sure the bottom portion of the scope rings is hand-tightened on the rail before making final adjustments. For stability, place the rear ring near the stock and the front ring closer to the barrel.
Finally, use a level or bubble level to confirm that your scope is properly aligned and not canted, which can hinder your aiming capabilities.
Tightening the Rings
Now that your scope is positioned, it’s time to tighten the rings properly.
You’ll want to follow the recommended torque settings and sequence to guarantee everything stays aligned and secure.
Keep an eye out for common issues like over-torquing, which can lead to problems down the road.
Recommended Torque Settings
When mounting your rifle scope, it’s essential to secure the scope rings to the base with the right torque settings for ideal stability.
Using a torque wrench, follow these steps to guarantee proper tightening:
- Tighten the scope ring screws incrementally to 15-18 inch-pounds, avoiding thread-locker to prevent over-torquing.
- For horizontally split rings, alternate tightening between both sides to maintain an even gap.
- If you’re using vertically-split rings, fully tighten one side before moving to the other to keep alignment.
- Always refer to the ring manual or manufacturer specifications for exact torque settings, as different systems may vary.
Proper Tightening Sequence
To guarantee your scope is securely mounted, follow a proper tightening sequence that promotes even pressure across all screws.
Start by incrementally tightening the scope ring screws to a torque value of 15-18 inch-pounds to prevent over-tightening, a common mistake.
For horizontally split rings, tighten one side fully before moving to the opposite side, while in vertically-split rings, use a cross-tightening method.
This means alternating between opposite screws to confirm even pressure and avoid stripping threads.
Before fully tightening the bottom pieces of the rings to the firearm rail, make sure the scope is positioned correctly for eye relief.
Always refer to the manufacturer’s recommended torque settings for both rings and bases to confirm proper security during firing.
Common Ring Issues
While tightening scope rings might seem straightforward, several common issues can arise if the process isn’t done correctly.
To guarantee a secure alignment and avoid mishaps, keep these tips in mind:
- Start with a torque setting of 15-18 inch-pounds to prevent over-torquing.
- Tighten screws incrementally to maintain even spacing on horizontally split rings.
- For vertically-split rings, fully tighten one side before moving to the other to avoid stripping threads.
- Use a torque wrench according to the manufacturer’s specifications for proper tightening.
Regularly checking the torque of mounting screws after installation is essential for maintaining secure alignment and preventing any loss of zero over time.
Following these steps will help you mount your rifle scope effectively.
Leveling the Scope
Leveling your scope is essential for accurate shooting, and it starts with ensuring the reticle is parallel to the horizon.
Use bubble levels to check alignment before tightening screws fully.
A leveling tool like the Real Avid Level-Right Pro can project the reticle onto a grid for better accuracy.
| Step | Tool Needed | Action |
|---|---|---|
| 1. Initial Setup | Bubble Level | Align the reticle with the horizon |
| 2. Use Leveling Tool | Real Avid Level-Right Pro | Project reticle onto grid |
| 3. Tighten Screws | Torque Wrench | Incrementally tighten to 15-18 inch-pounds |
| 4. Final Check | Bubble Level | Recheck scope level and sight picture |
Always confirm alignment before finishing the mounting process.
Final Adjustments
Once you’ve removed the firearm from the vise, it’s essential to check the field of view through the scope to confirm it meets your expectations.
Now, you’ll want to make your final adjustments carefully. Follow these steps:
- Adjust eye relief for comfort and visibility, ensuring you don’t disrupt reticle alignment.
- Be patient; take your time to maintain the correct sight picture throughout the adjustments.
- Re-check the scope level to verify everything is aligned properly after making adjustments.
- Double-check all screws and ring gaps for security to ascertain nothing is loose before heading to the range.
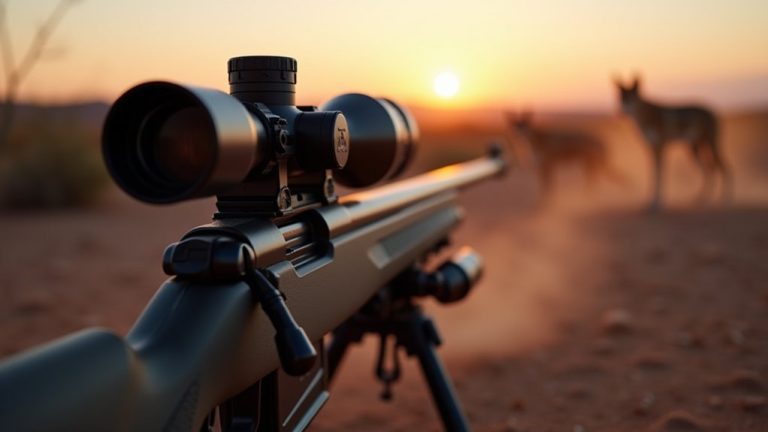
Zeroing the Scope
Zeroing your scope is an essential step in ensuring accuracy when you take your shot.
Start by setting a target at 25 yards to confirm your scope is on paper. Use the bore sighting method to align the reticle, then fire one shot and observe the impact.
This helps determine the necessary adjustments.
| Bullet Impact | Scope Adjustment |
|---|---|
| Above Target | Adjust Down |
| Below Target | Adjust Up |
| Left of Target | Adjust Right |
| Right of Target | Adjust Left |
| On Target | Set Zero Stop |
Adjust the scope turrets according to the distance from the bullet hole to the target center.
Once you reach your desired zero, set the turrets back to “0” for future consistency.
Frequently Asked Questions
How Many Clicks on a Rifle Scope Is 1 Inch?
To adjust your rifle scope by 1 inch at 100 yards, it typically takes 4 clicks for a 1/4 MOA scope and 2 clicks for a 1/2 MOA scope.
If your scope uses a different measurement, like centimeters, you’ll need 2 clicks for 1 inch at 100 meters.
Always check your scope’s manual to confirm the exact click value, as they can differ between models.
Knowing this helps you make accurate adjustments.
What Distance Should You Zero a Rifle Scope?
When you’re aiming for precision, zeroing your rifle scope at 100 yards is your best bet.
It strikes a balance between hunting and target shooting, giving you a solid foundation.
If you’re shooting close-range, like with a .22, consider 25 yards instead.
For long-range enthusiasts, zeroing at 200 to 300 yards might suit your needs.
Just remember, understanding your ammo’s trajectory is key to hitting your mark effectively.
Is It Better to Mount a Scope High or Low?
It’s generally better to mount a scope low if you want improved comfort and stability.
Lower mounts enhance your cheek weld, allowing for a more natural shooting position.
However, if you’ve got a larger objective lens, higher mounts might be necessary for clearance.
Ultimately, it’s about balancing eye relief, comfort, and scope clearance to find what works best for your rifle and shooting style.
Adjust accordingly for ideal performance.
Do You Really Need a Torque Wrench to Mount a Scope?
You can’t cut corners when it comes to mounting your scope. Yes, you really do need a torque wrench.
It guarantees you apply the right amount of pressure to the screws, preventing over-tightening and potential damage.
Without it, you might end up with a misaligned scope or stripped threads, which can be a real headache.
Investing in a quality torque wrench will pay off in the long run, guaranteeing your setup stays reliable and accurate.
Conclusion
Now that you’ve followed these eight simple steps, your rifle scope is mounted and ready for action!
Like a well-tuned orchestra, every component must work in harmony for a perfect shot.
Take a moment to double-check your work and verify everything’s secure.
Remember, a well-mounted scope can make the difference between hitting the mark and missing the target.
So, get out there, trust your setup, and let your skills shine on your next hunt!
Having a properly mounted rifle scope is crucial for your success in shooting.